

Plasterboard ceiling
Lines of light instead of add-on luminaires: LightLineLed makes rooms appear with one continuous ceiling surface. Straight runs and individual arrangements showcase architecture and furnishings.
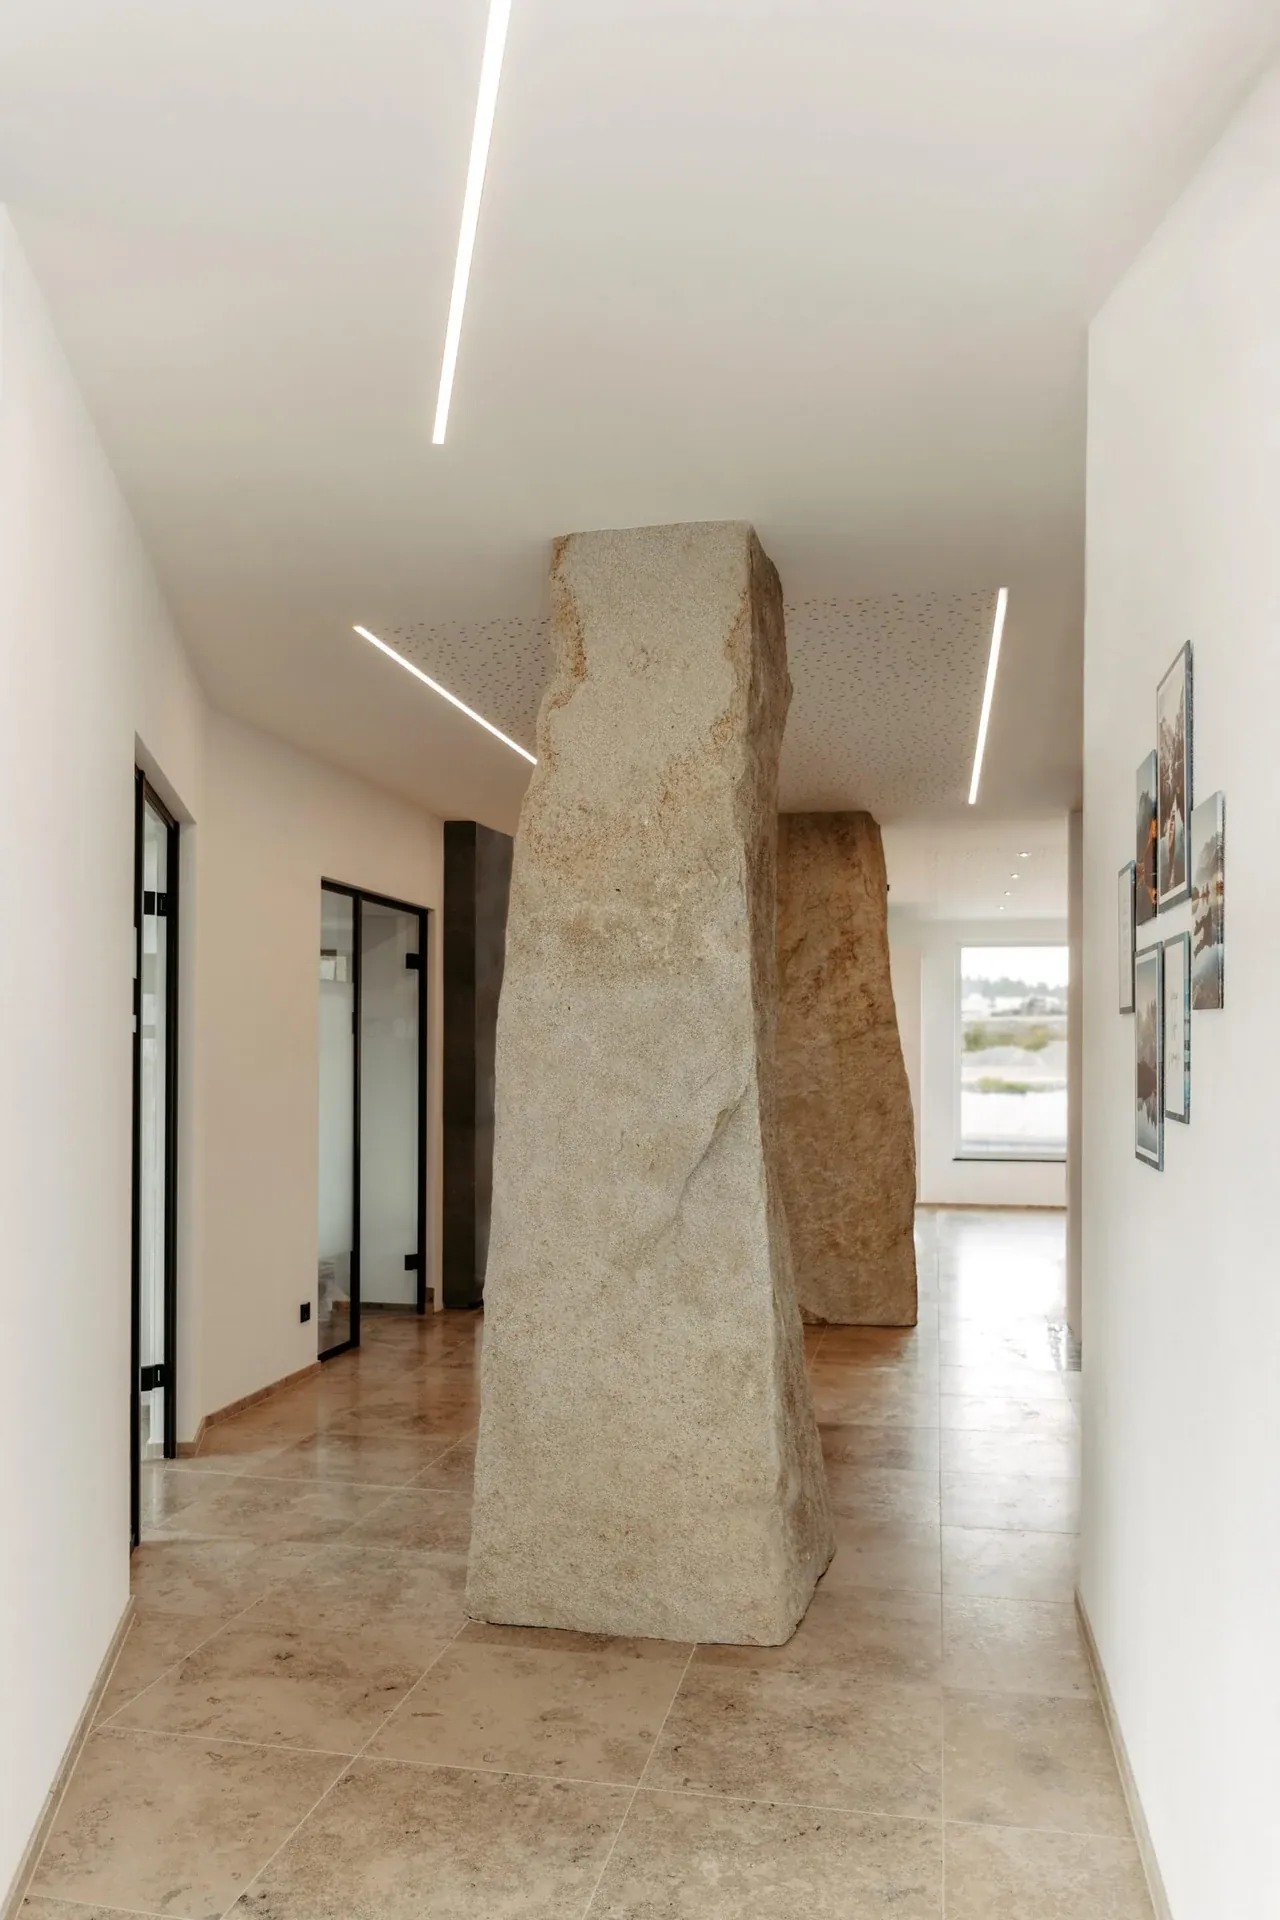
What this solution makes possible.
A light line that comes into being with the ceiling: the set-back 13 mm flanges connect the profile opening to the lining. The surface is finished first, and the tested light insert is installed later. The installation manual shows the connection for 12.5 mm and 15 mm plasterboard.
Concealed wing fixing behind the ceiling board.
Matching visible-edge finish for two board thicknesses.
Serviceable light insert with a clean, continuous ceiling surface.
This is how your line of light is made.
Application, construction and benefits – tailored to your architecture.
The light line becomes part of the ceiling surface
LightLineLed enables lines of light that integrate into a plasterboard ceiling and give the room targeted structure. Straight lines can accompany corridors, connect areas or underline the architecture of a ceiling. The housing is prepared with the drywall work; the visible profile and cover later form the light output. The fixing wings sit behind the boards. As a result, the finished ceiling view stays calm, while the lighting appears as a deliberately planned part of the surface.
Profile and drywall interlock
The recessed 13 mm wings connect the light opening with the plasterboard cladding. The documented connections take 12.5 mm and 15 mm boards into account, each with a suitable design of the visible edge. Profile run, substructure and technical zone are coordinated before the ceiling is closed. This brings clarity for the trades involved: the line of light has its defined place, and the space needed for mounting and driver profile can be considered when arranging the ceiling profiles.
Surface first, light last
The profile remains protected during filling and painting work. Only once the surface is finished is the prepared luminaire insert connected and inserted. This protects the visible components and allows clean preparation of the lighting technology away from the construction site. Within the intended system options, colour temperature, cover and light effect can be assessed in the finished room. The prepared housing forms the structural basis for this, without the sensitive LED assembly having to accompany all fit-out work.
Consistent design with service access
Suitable mounting and technical sections enable coordinated supply along the light line. For later maintenance, the matching luminaire insert remains removable via the intended service path; the fixed housing stays in the ceiling. The system thus combines a calm surface with accessible lighting technology. Loads and substructure are matched to the respective ceiling system. For special requirements, such as fire protection, the suitability of the entire ceiling build-up is clarified separately.
The solution in section
The system as construction progresses.
From the prepared housing to the finished light line.
The path to the finished light line
Coordinate ceiling and technology
Define the light path, supporting structure, transformer position and feed-in before the cladding. Pull in the supply line in good time.
Install the installation profiles
Connect profiles flush and attach to a load-bearing substructure. The deep transformer zone needs its own free installation space.
Connect the boards and apply filler
Screw into the flanges from both sides through the plasterboard panels. Insert the protective strip flush. For 15 mm, fit an edge guard inside the profile and hold it in position with the polystyrene insert.
Fit and secure
After painting work, expose the channel, determine the actual installation depth, and connect, secure and snap in the prefabricated light insert.
Installation & documents.
The installation and processing instructions accompany the actual implementation of your line of light.
Plasterboard ceiling · Installation & processing
PDF · matching instructions
Safety and installation notes
PDF · observe together with the instructions
The complete installation manual
All applications and system details
Processing notes in detailMounting clips, safety cable and further notes on the specific design
Build-up details
Upper CD support profiles and lower CD board carriers form the cross substructure. Hangers, spacing and fastening must be matched to the ceiling system and additional load.
The profile wings sit behind the boards. Screw from the room side through the board into the corresponding wing on each side.
37 mm mounting profile, 64 mm transformer profile measured from the finished ceiling surface. Coordinate collisions with CD profiles and any required changes early with the drywall contractor.
Processing and installation
Mounting clips V2 (20 mm) and V3 (30 mm) may be shortened. Afterwards, both side legs must again taper inwards at an angle and form tips like the original tips. Blunt or straight-cut leg ends cause the clips to break when snapping in. Bevel both legs accordingly, deburr the cut points and check the tip shape before installation. Then check for full snap-in seating and secure hold. Do not use damaged clips. No blanket shortening dimension or cutting angle.
The plasterboard ceiling shown is an example without fire protection requirements; it is not proof of a classified fire-rated ceiling.
The retaining clip of the fall protection locks exclusively into the mounting profile, never into the flush-mount driver profile. If the light line begins with 0.5 or 1 m of driver profile, the upper securing fixing lies only in the adjoining mounting profile. A continuous flush-mount driver profile does not allow this type of securing; every lighting element must still be secured.
Four mounting clips per metre, rounded up and at least two per section. V1: 10 mm, V2: 20 mm, V3: 30 mm – choose to match the actual fit-out height. Secure visible profiles at the start, at every joint and at the end; the connector pair sits in both rear longitudinal slots of the suitable visible profile.
In the flush-mount driver profile, maximum driver installation height is 18 mm; remove the pull-out tab only after complete installation. MPW recommends routing the conduit in at the start of the driver profile, not through the end caps. Keep the electronics, terminal point and inspection access accessible.
Before cutting, measure the temperature of the profile and cover. Allow room for movement at joints and end caps for heating and cooling, and clip in the cover free of stress.
Discover the matching products.
Profiles, covers and accessories together make up your light line. The product pages show versions and matching combinations.
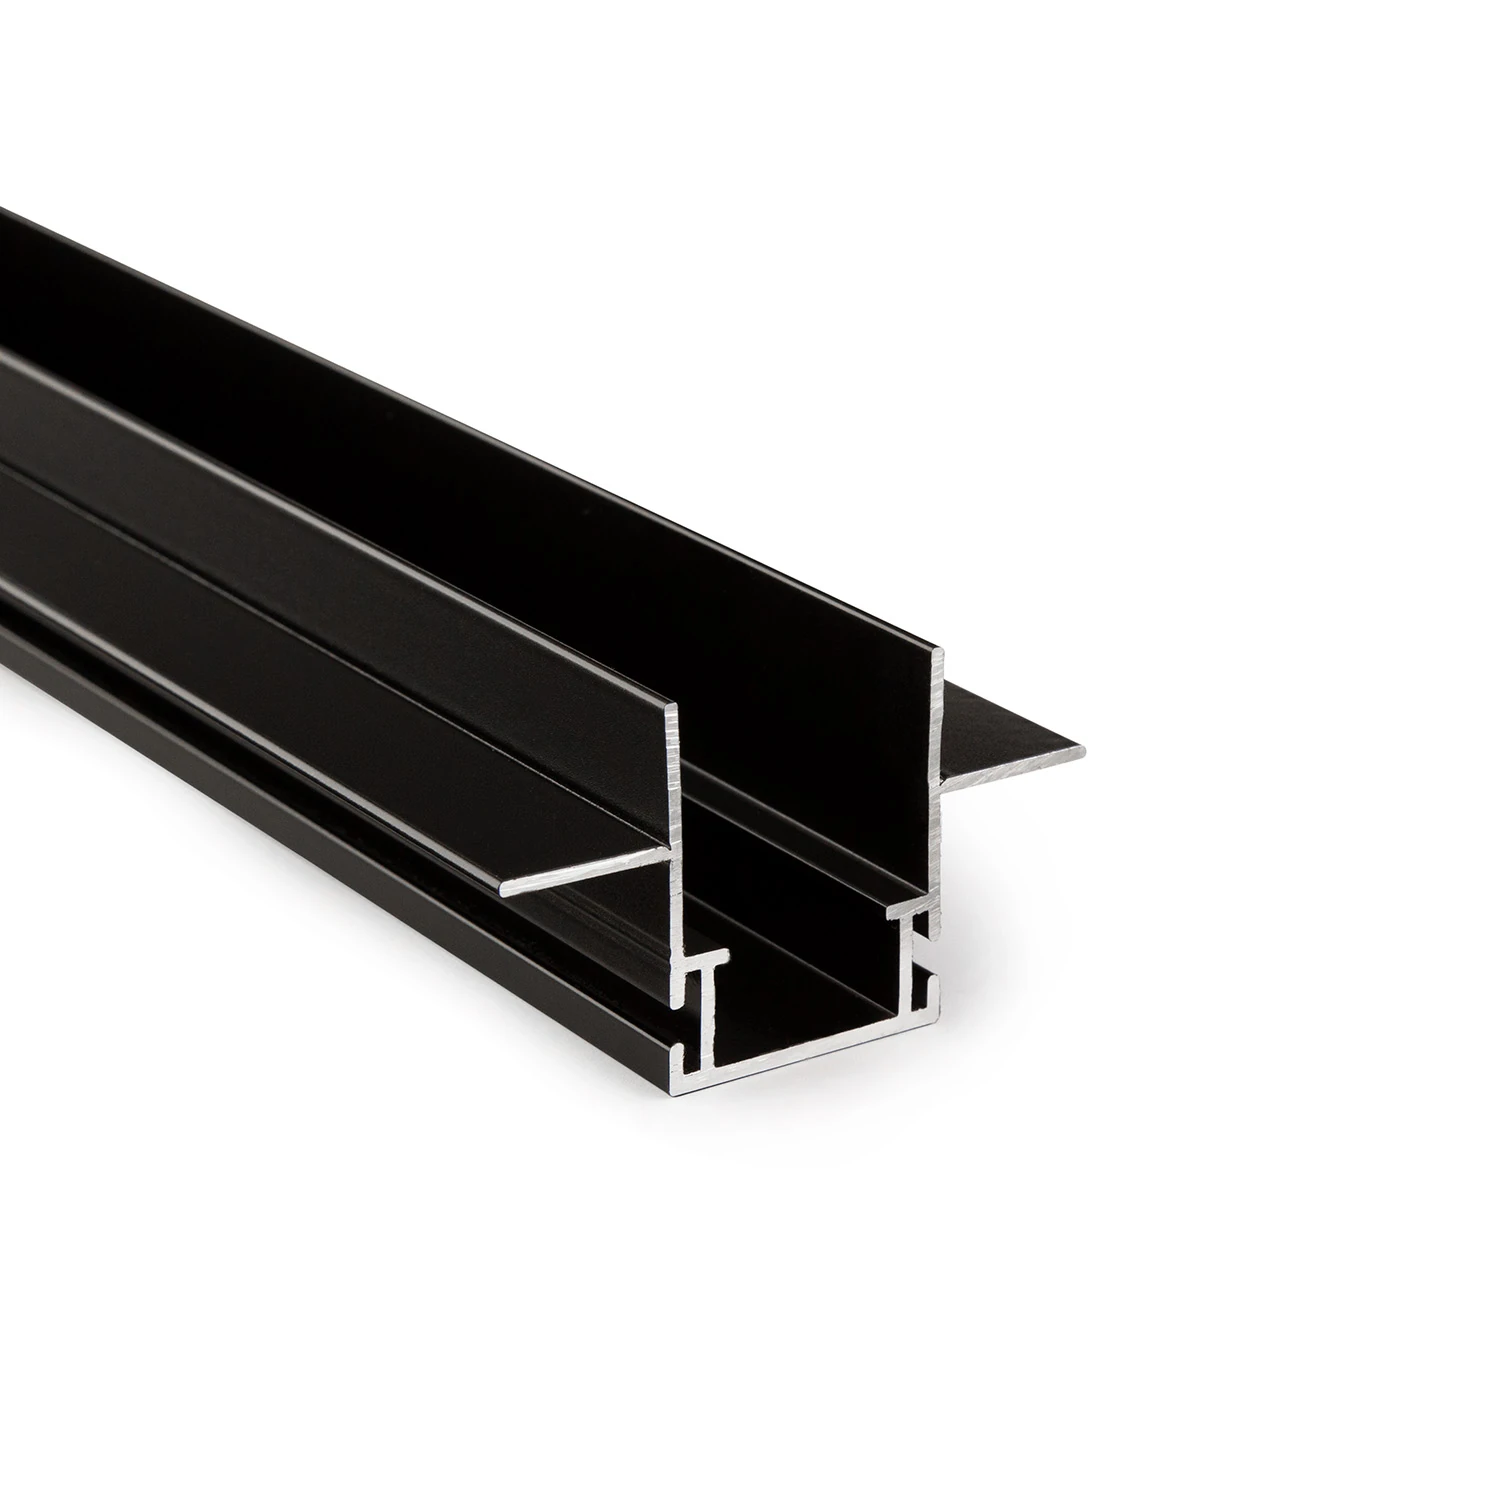
Mounting profile with 13 mm wing
Prepare the line of light together with the board cladding
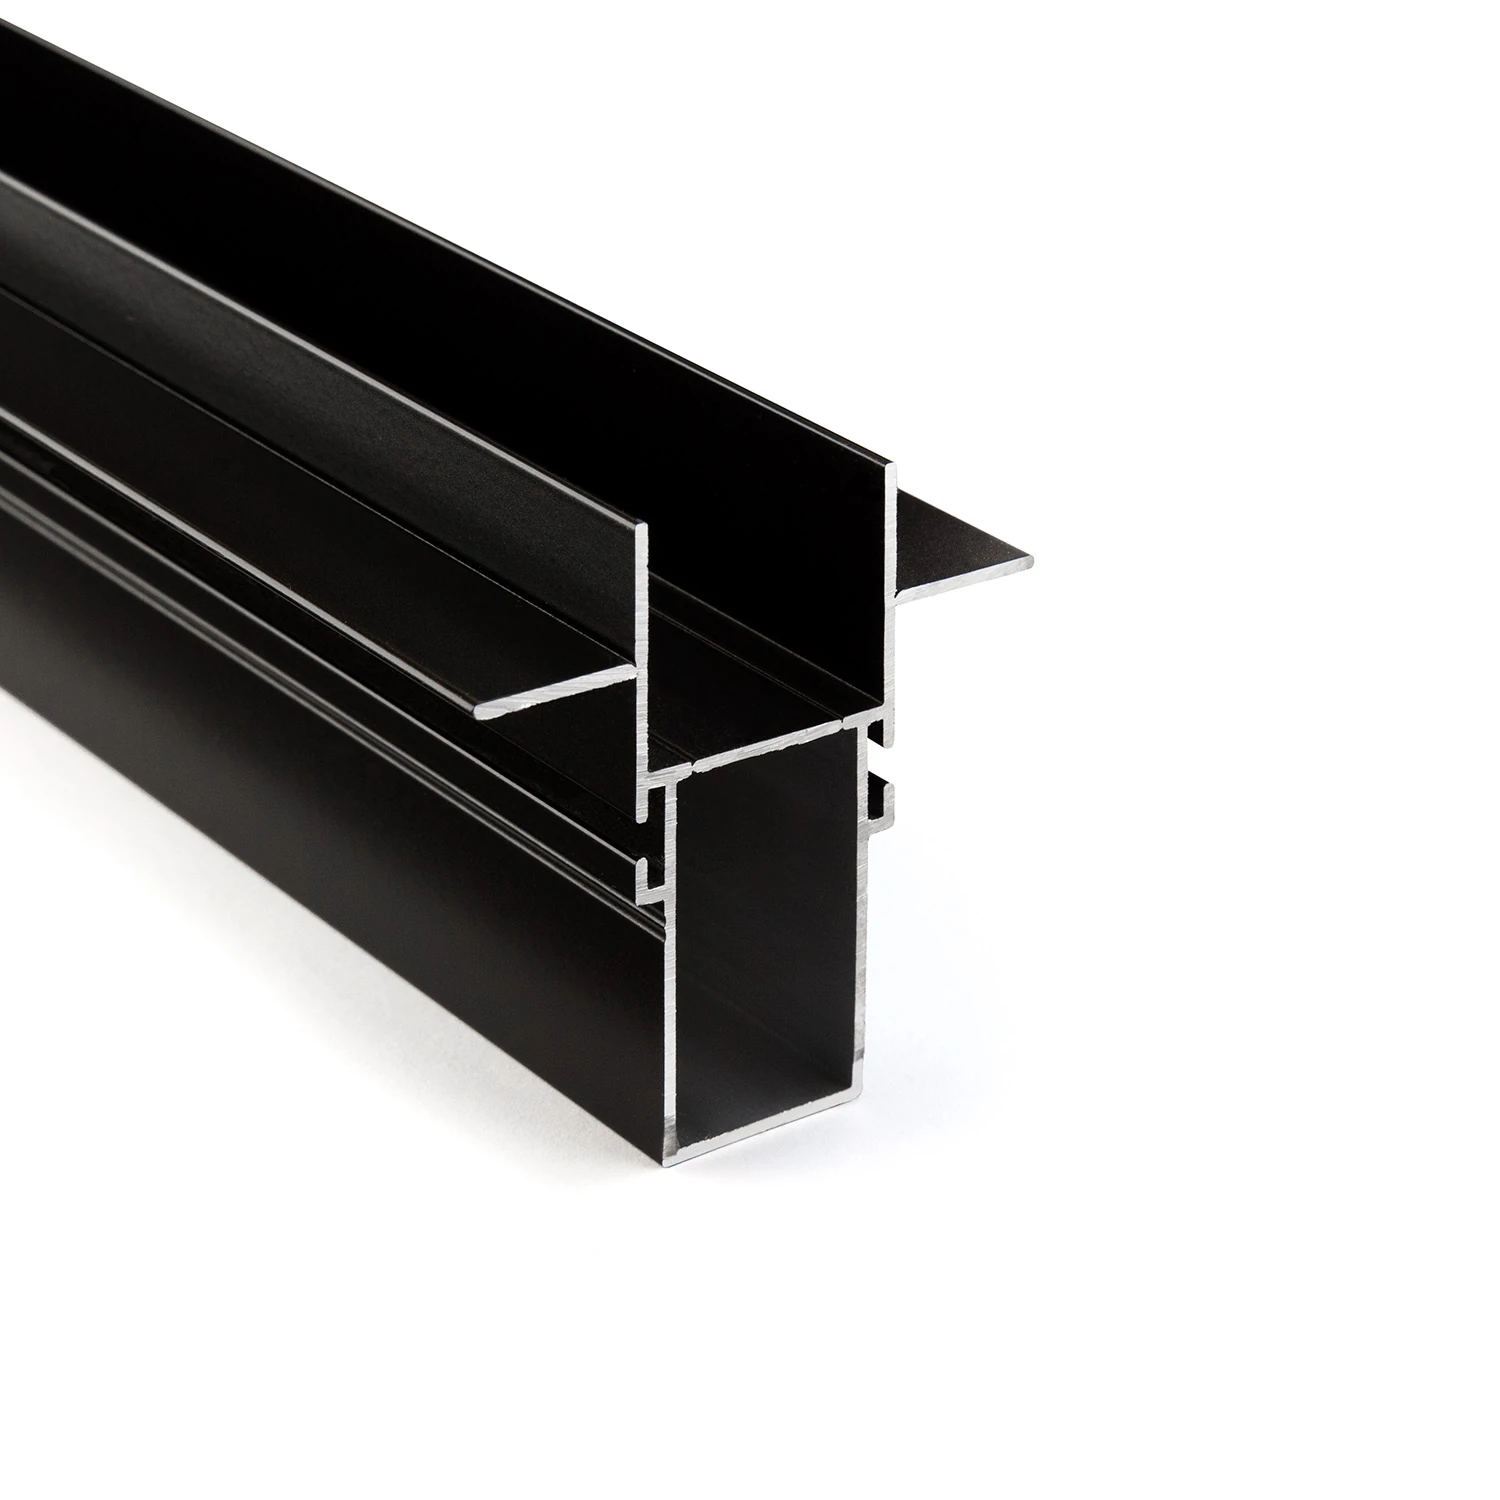
Driver profile with 13 mm flange
Power supplies and terminal points accessible via the light line
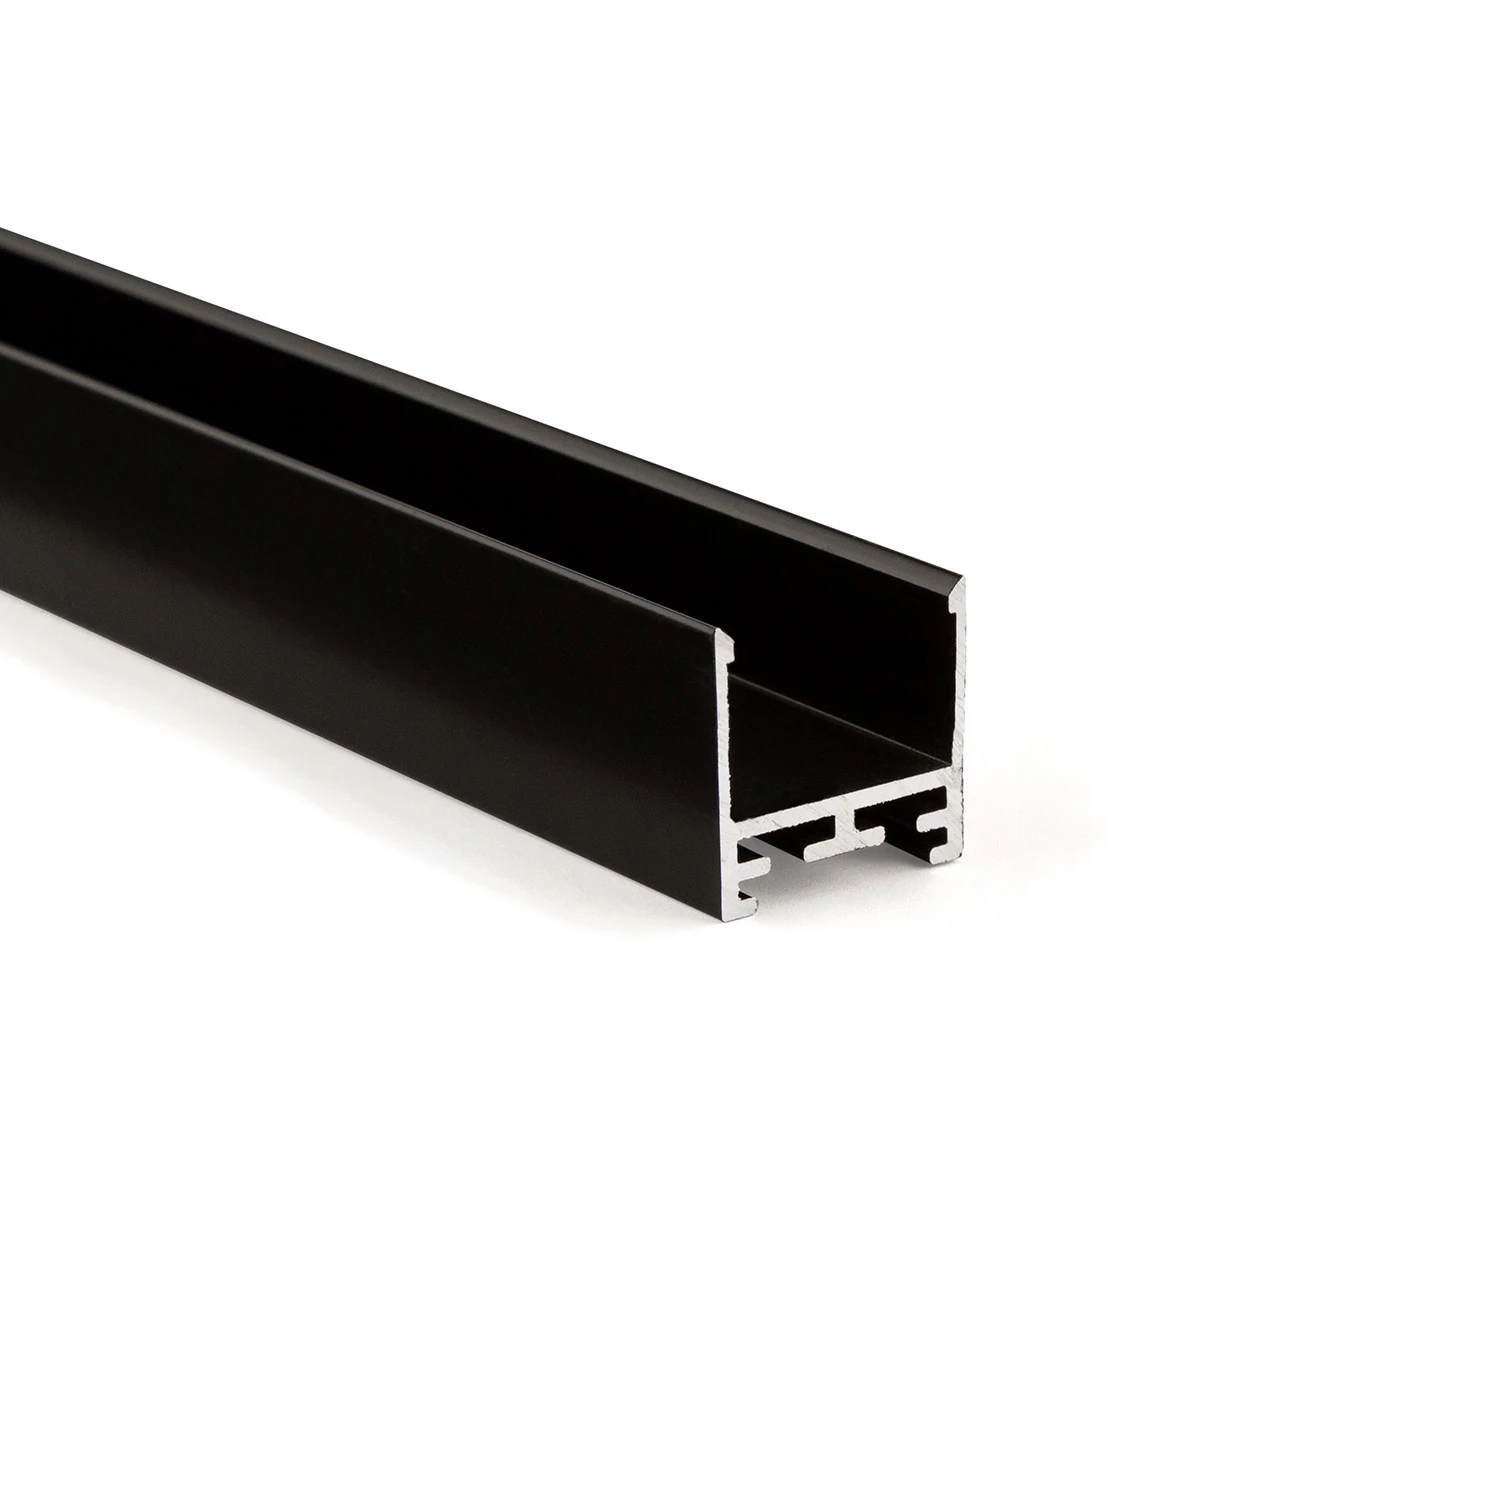
LL25 profile – the all-round visible profile
Consistent design language for recessed, surface-mounted and pendant installations
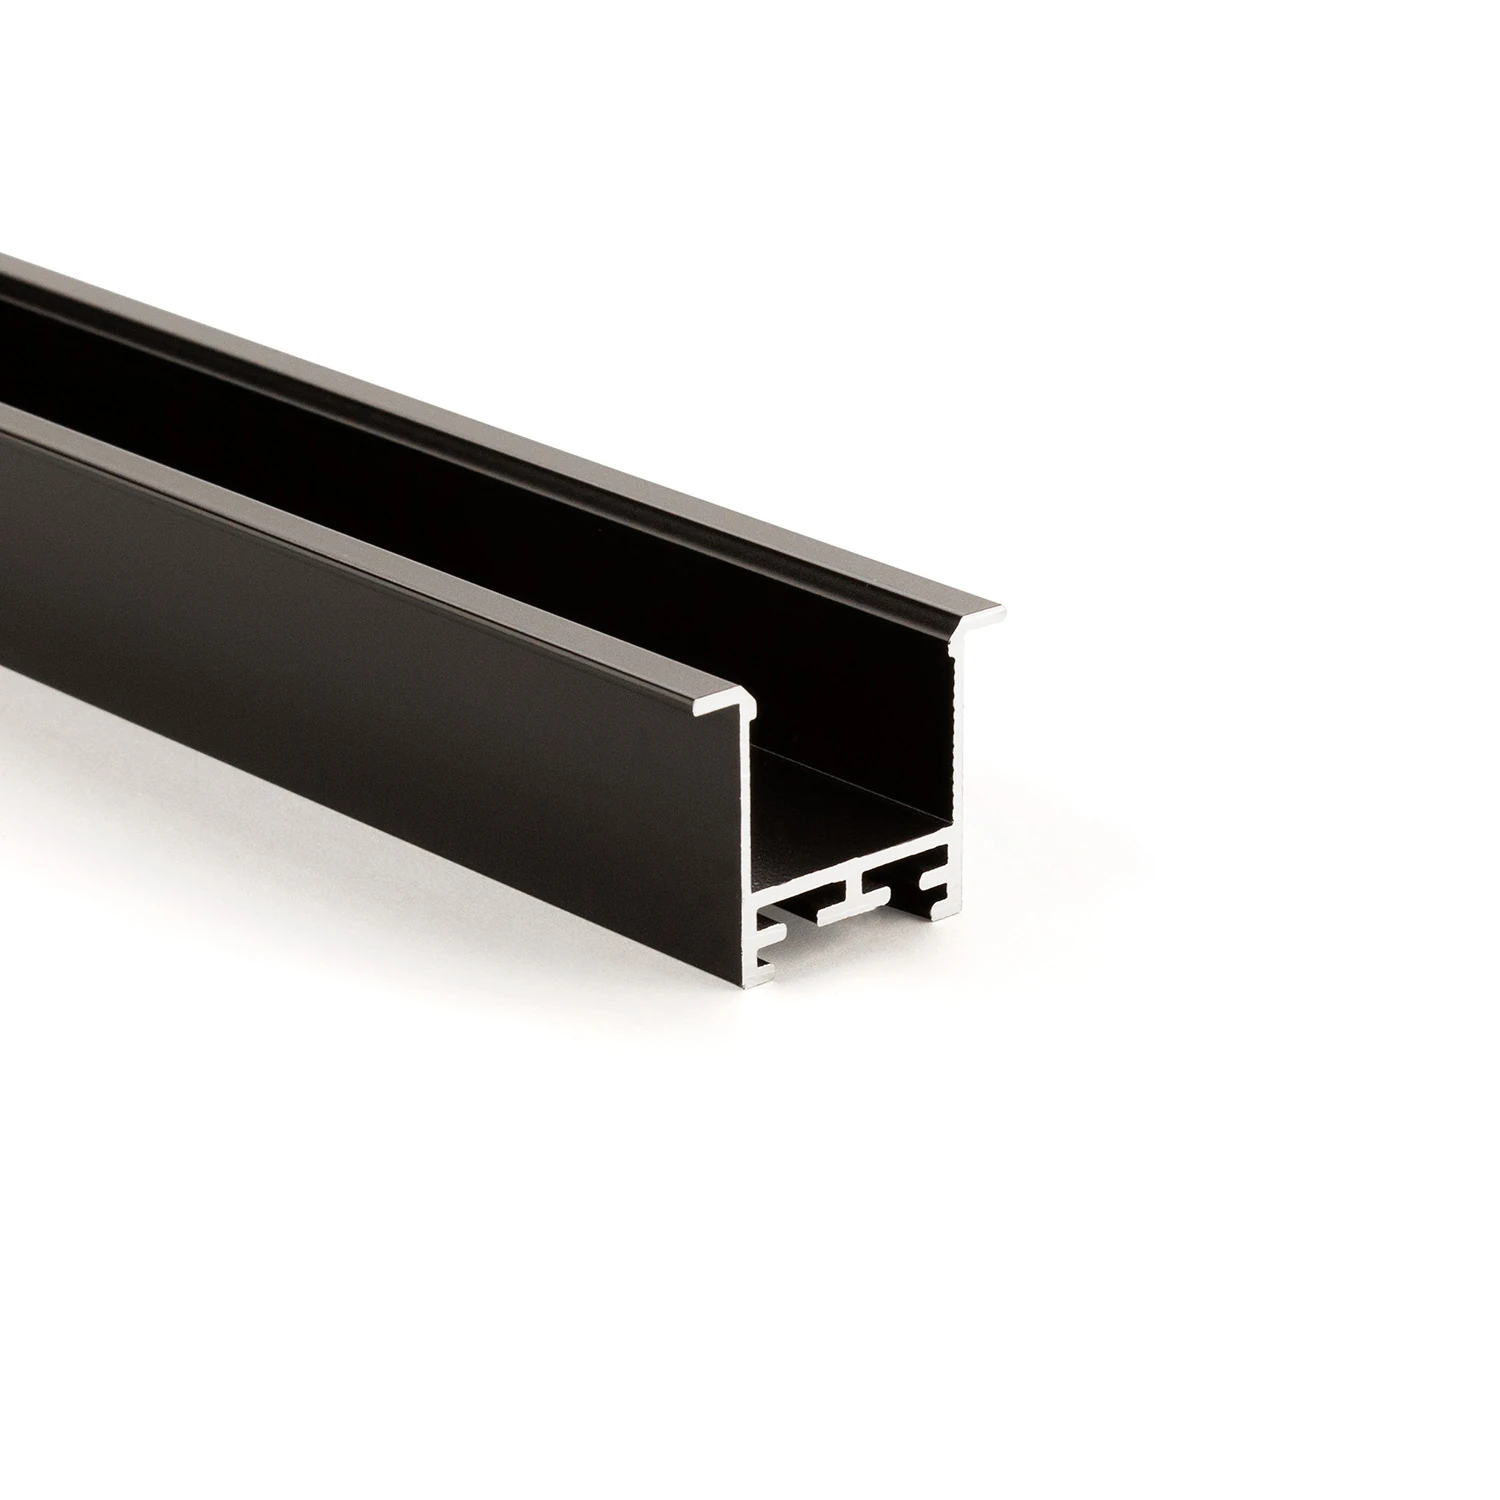
Recessed and visible profile LL35F
Visible aluminium edge covers the connection joint
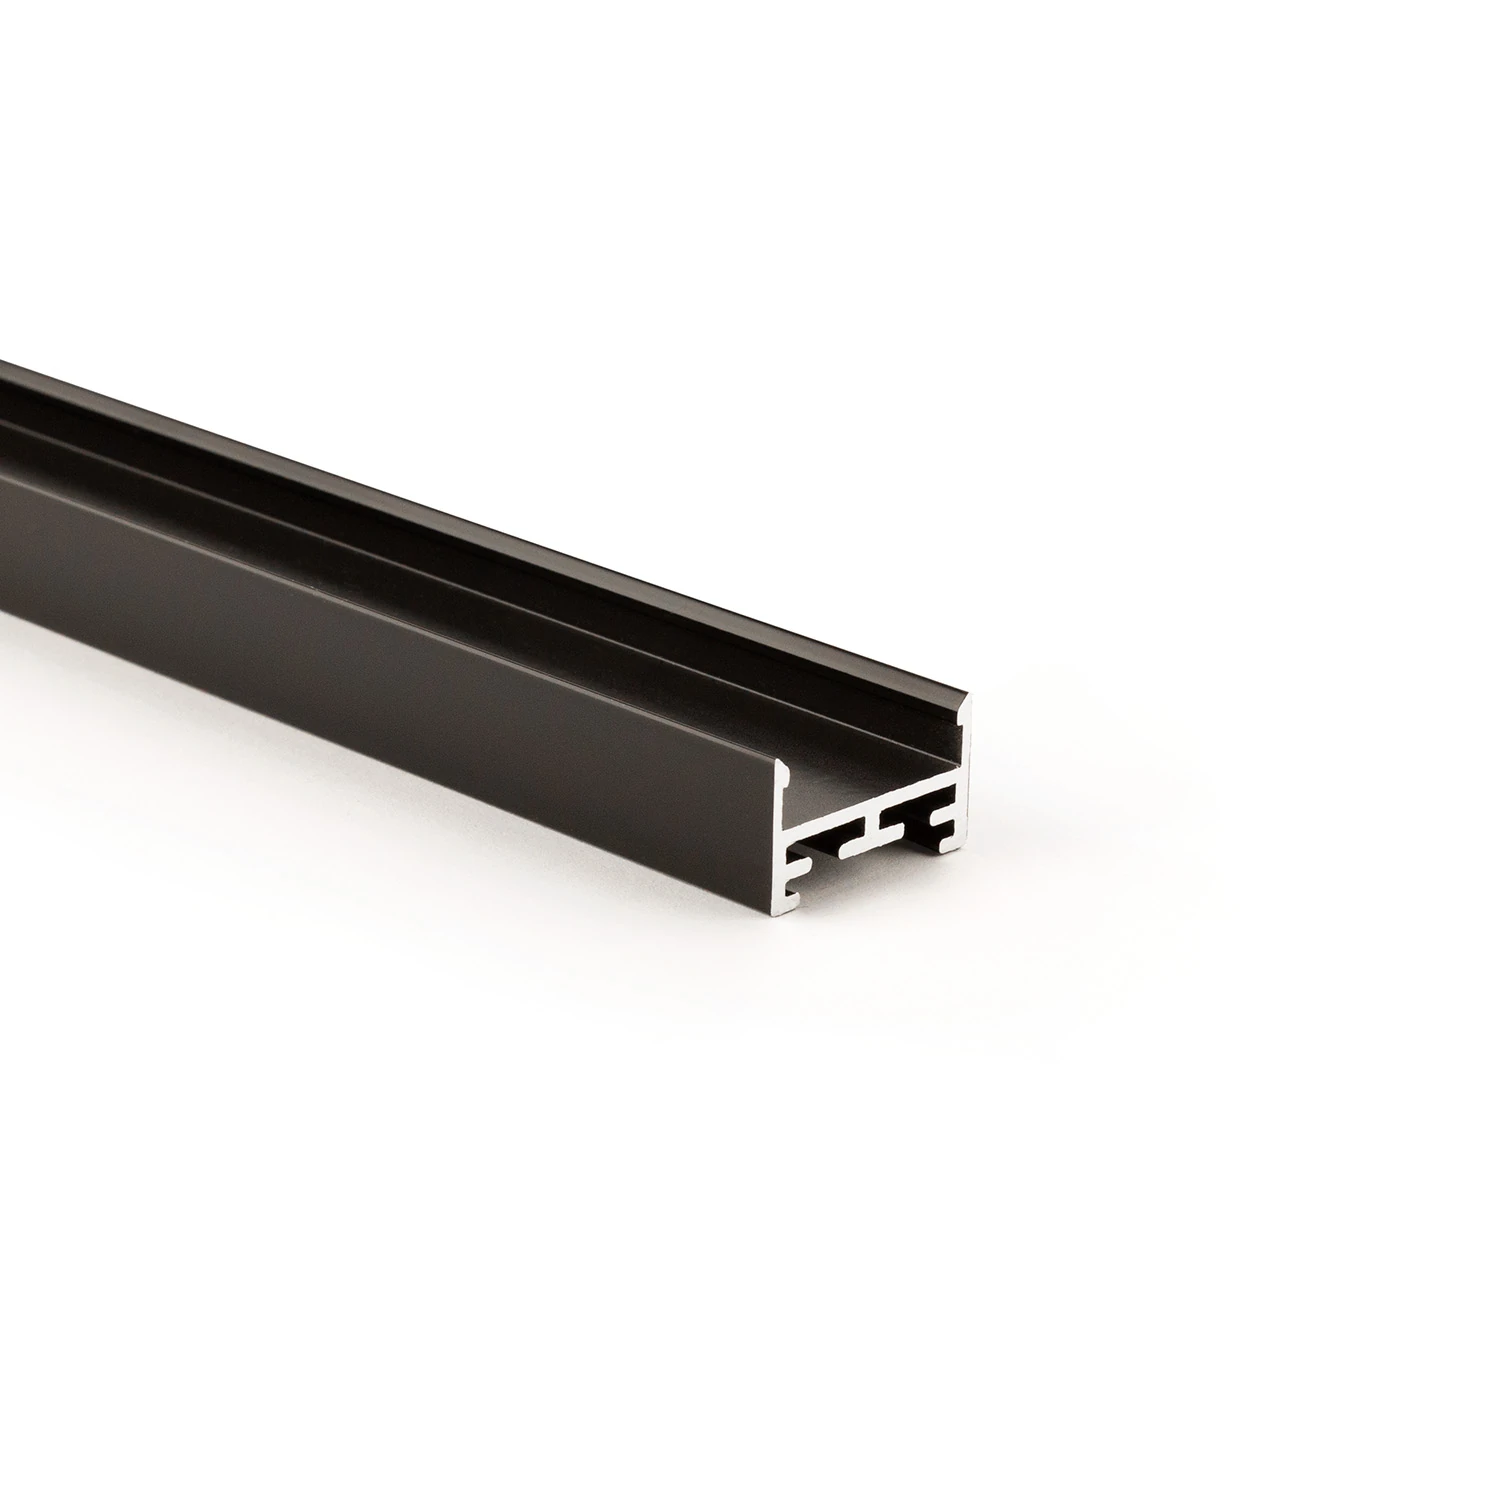
Visible profile LL2515
Compact aluminium body with sculptural V5 cover
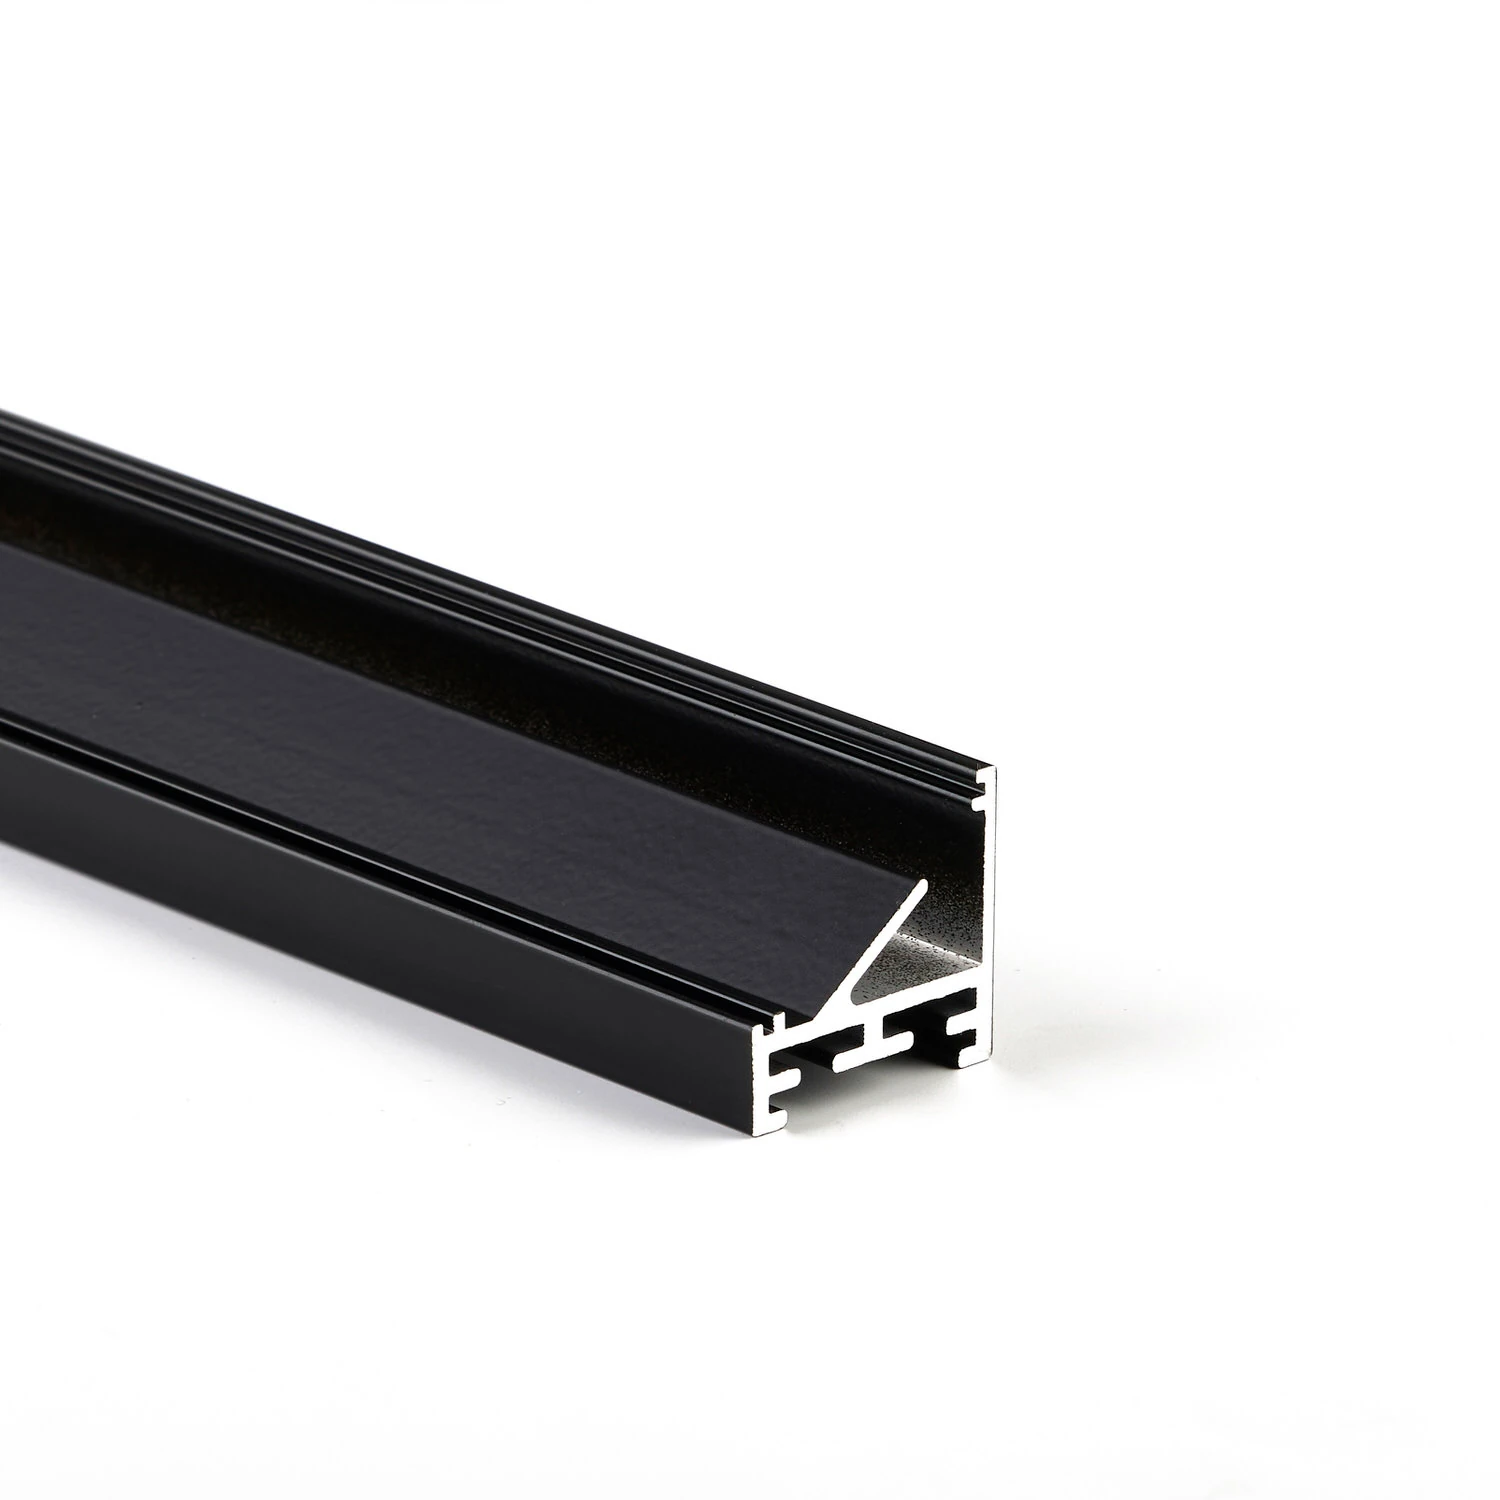
Corner visible profile LL2511E
45° inclined light-emitting surface for targeted aiming
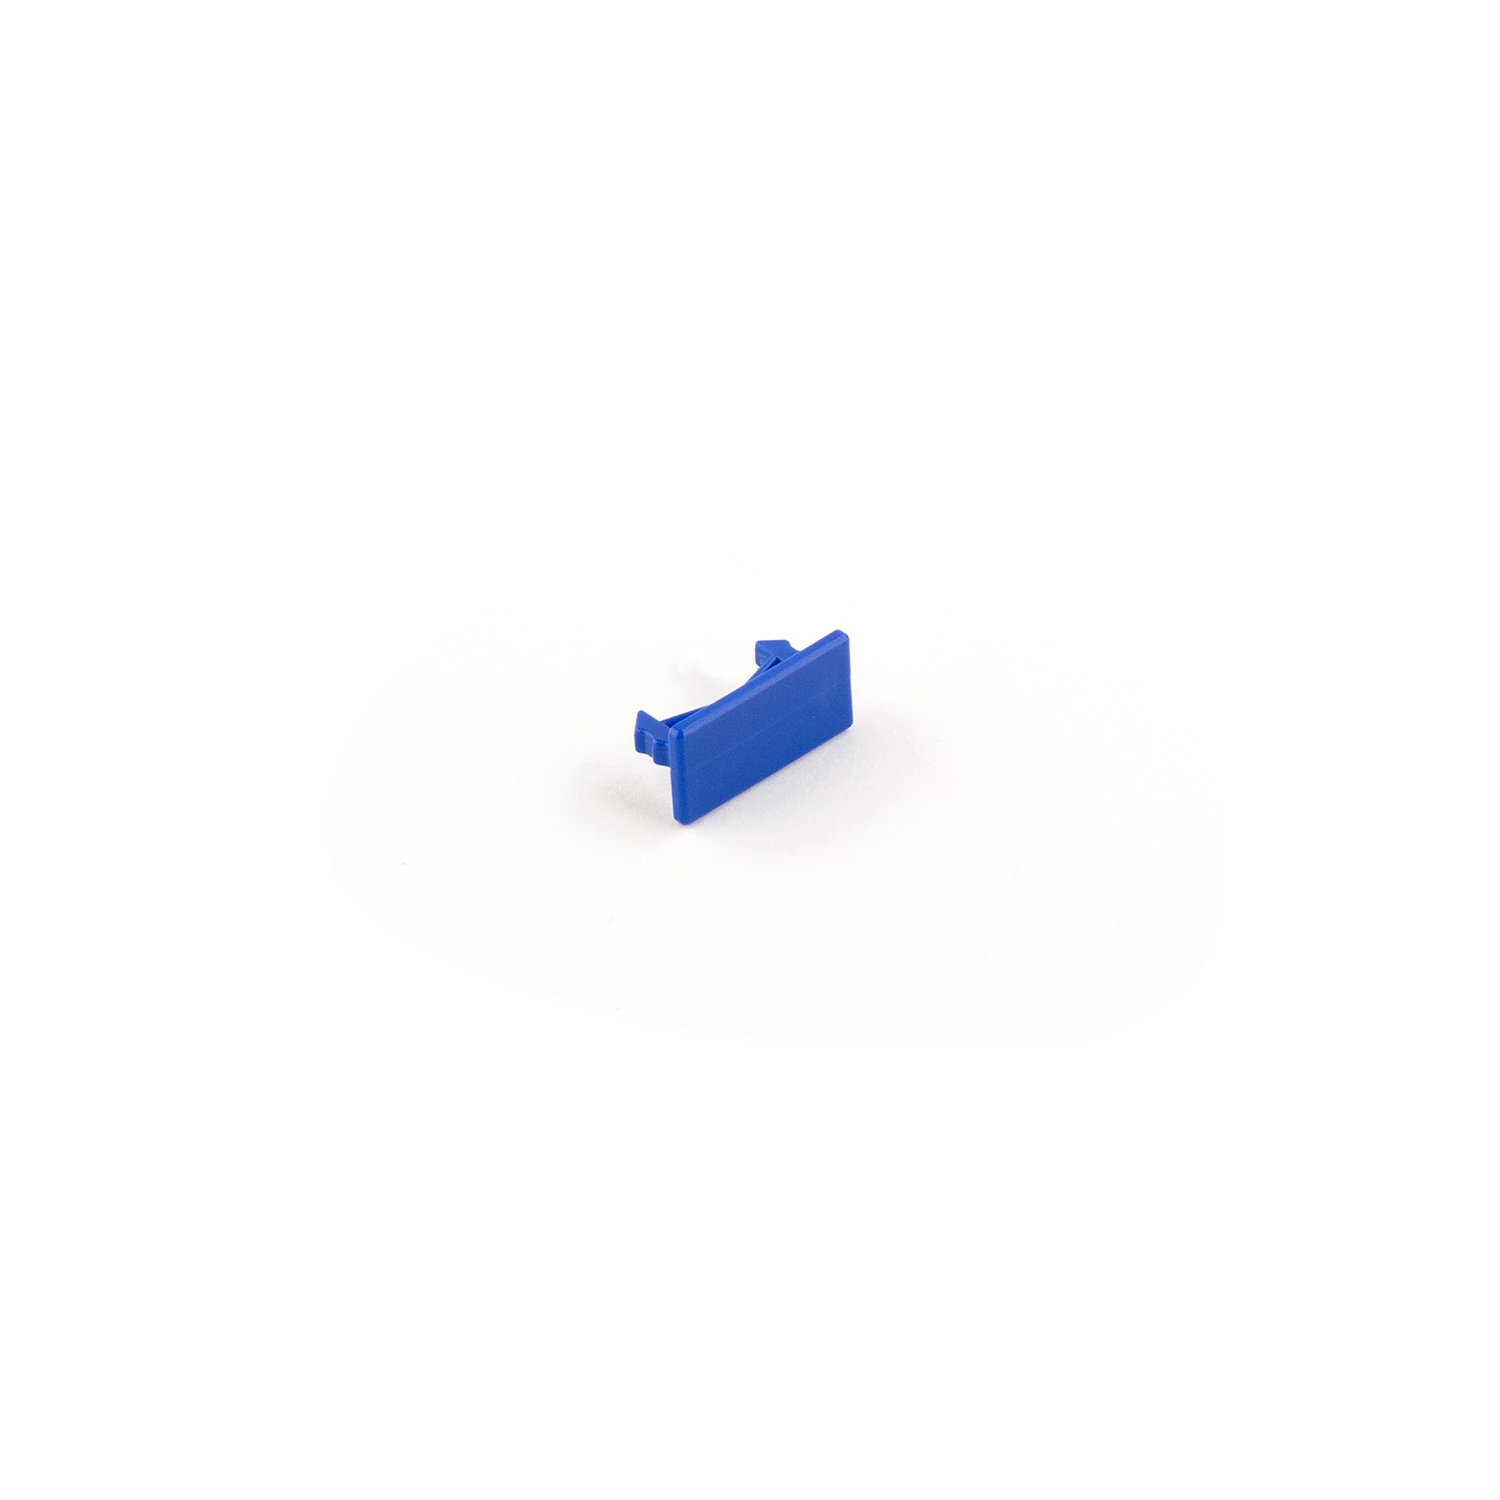
Mounting clips V1, V2 and V3
Height adjustment within the intended combination
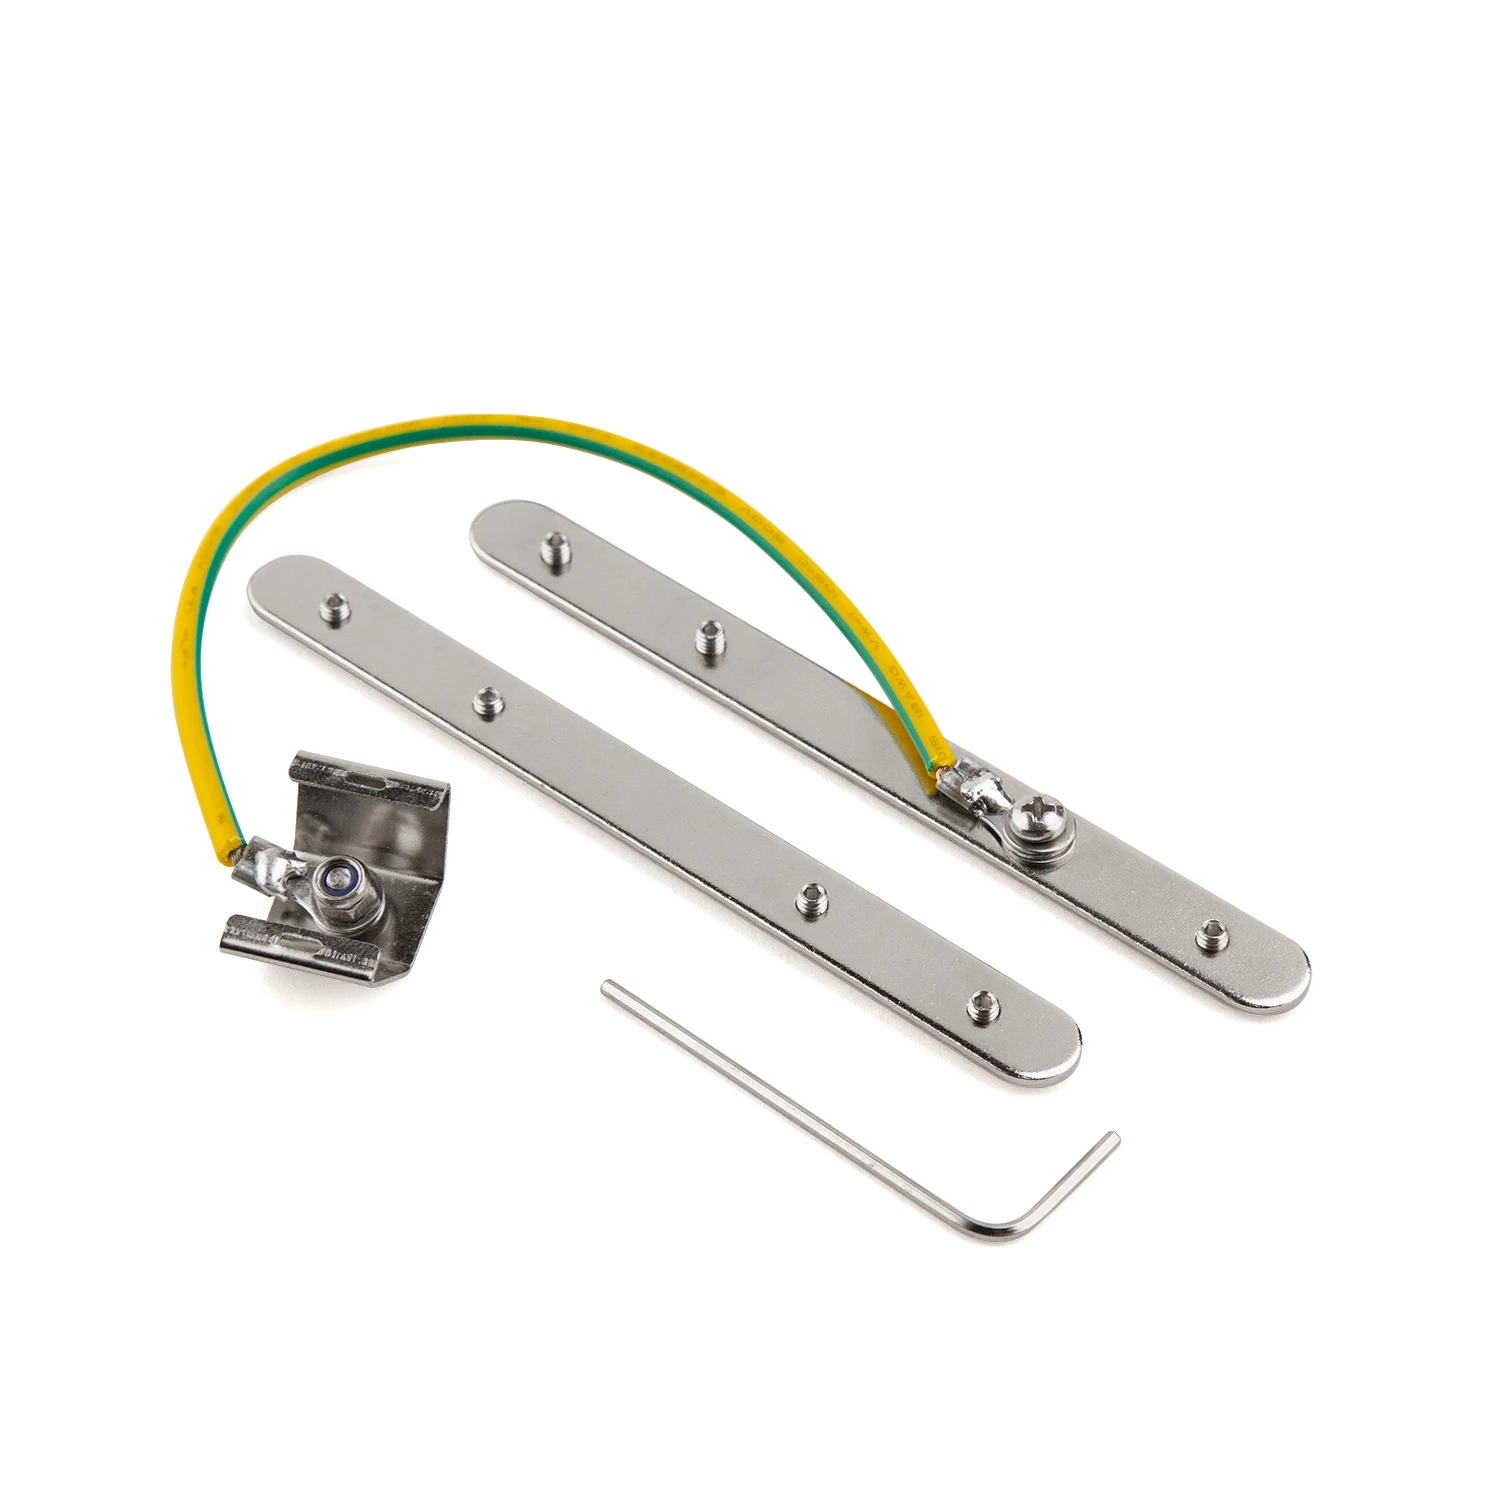
Fall protection for profiles with flange
Connecting and securing at the profile joint
Light line found.
We'll clarify the details together.
Building material, surface and desired lighting effect set the direction. MPW supports you with the right system version and the next steps.
More possibilities for your architecture.
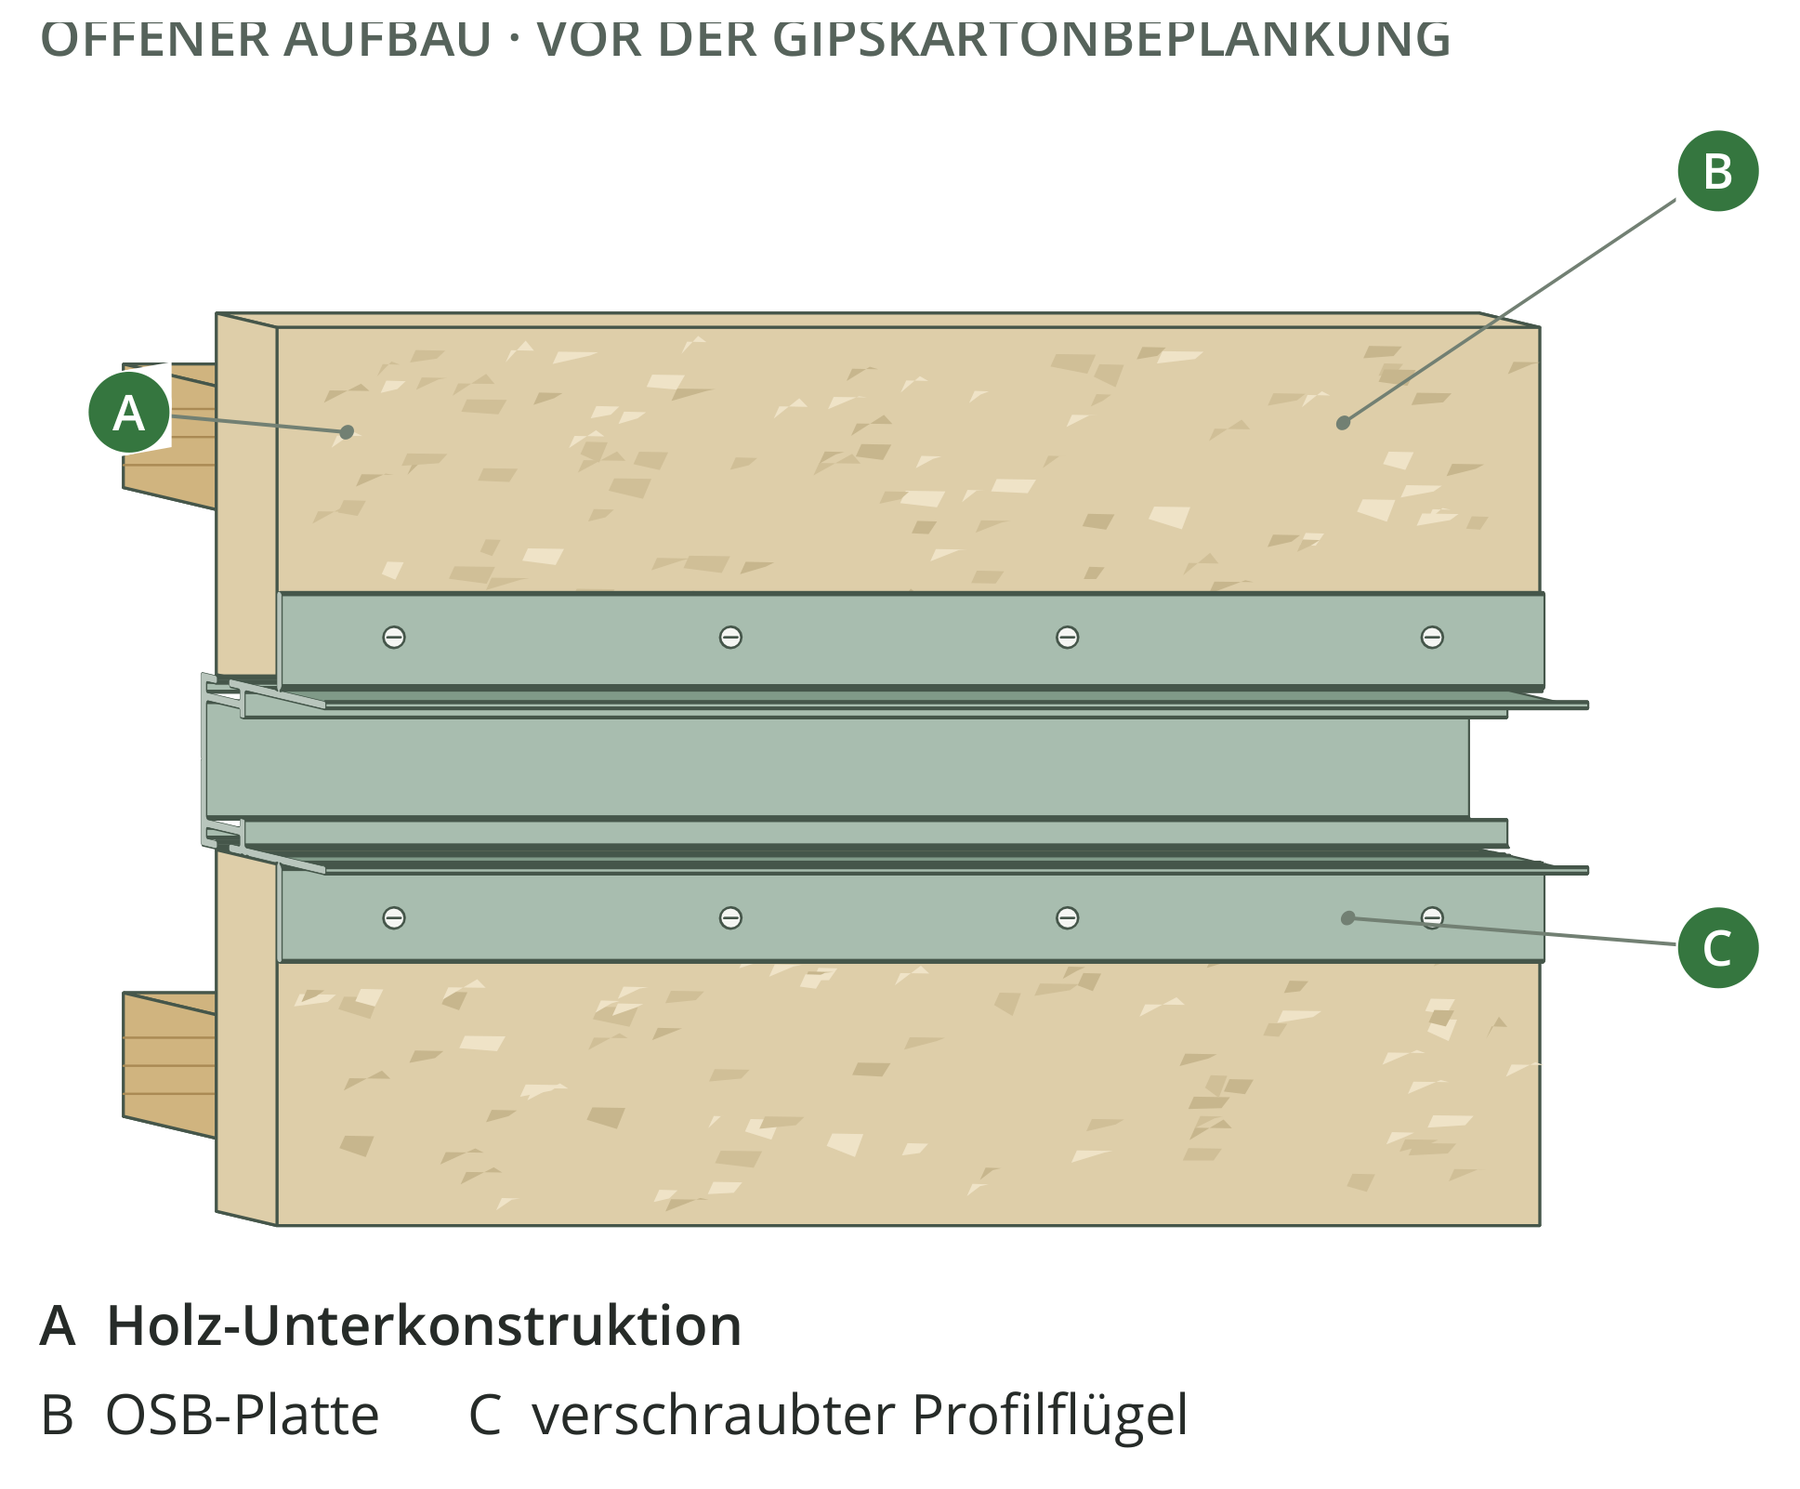 03
Timber construction with OSB & plasterboard
OSB, 12.5 or 15 mm plasterboard: the right detail for every layer.
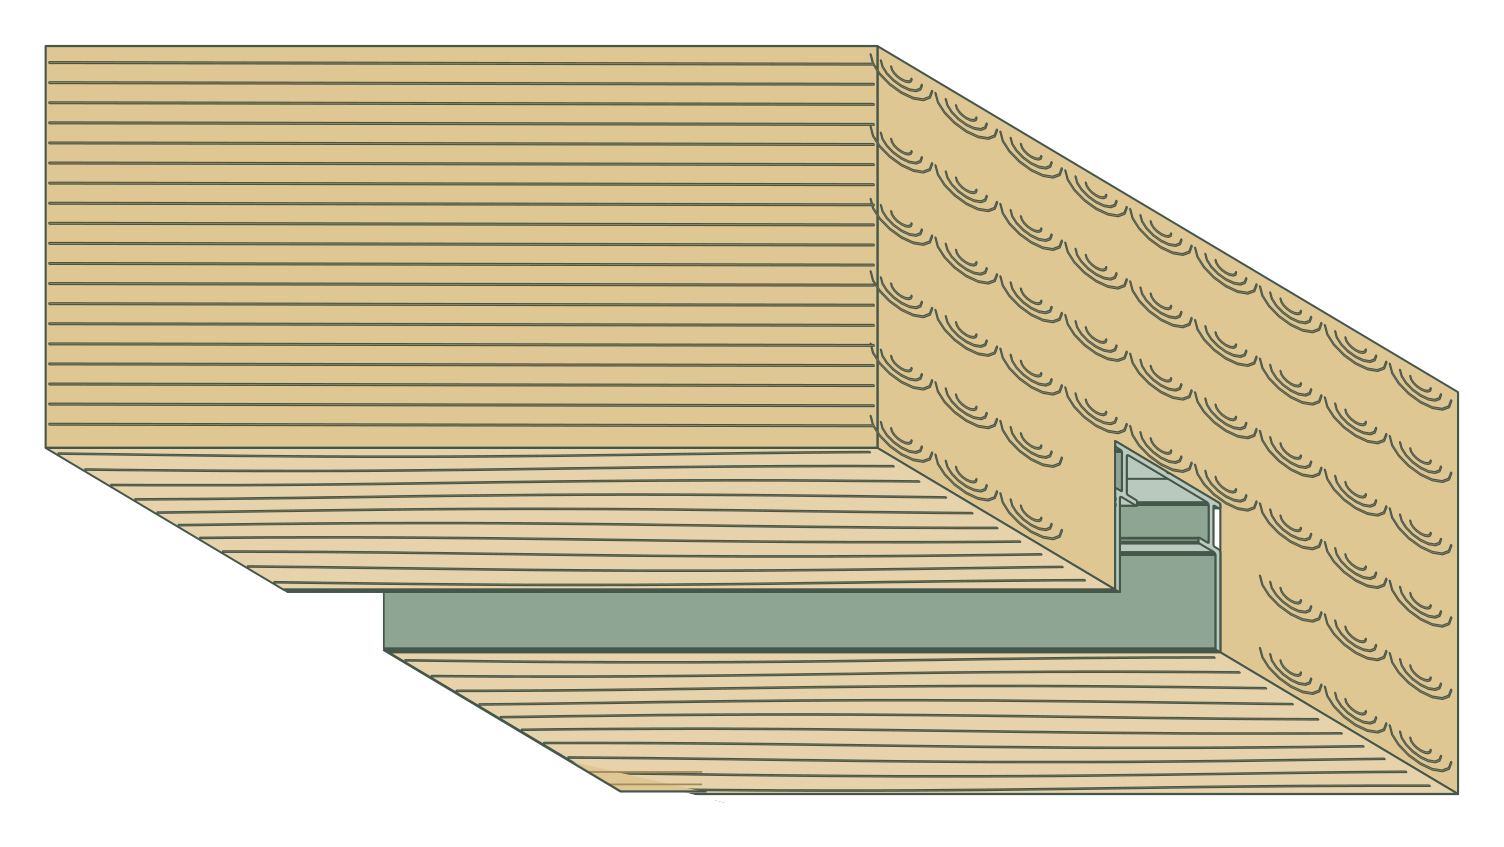 04
Solid wood & CLT
Precise routing and accessible light inserts in solid wood and cross-laminated timber.
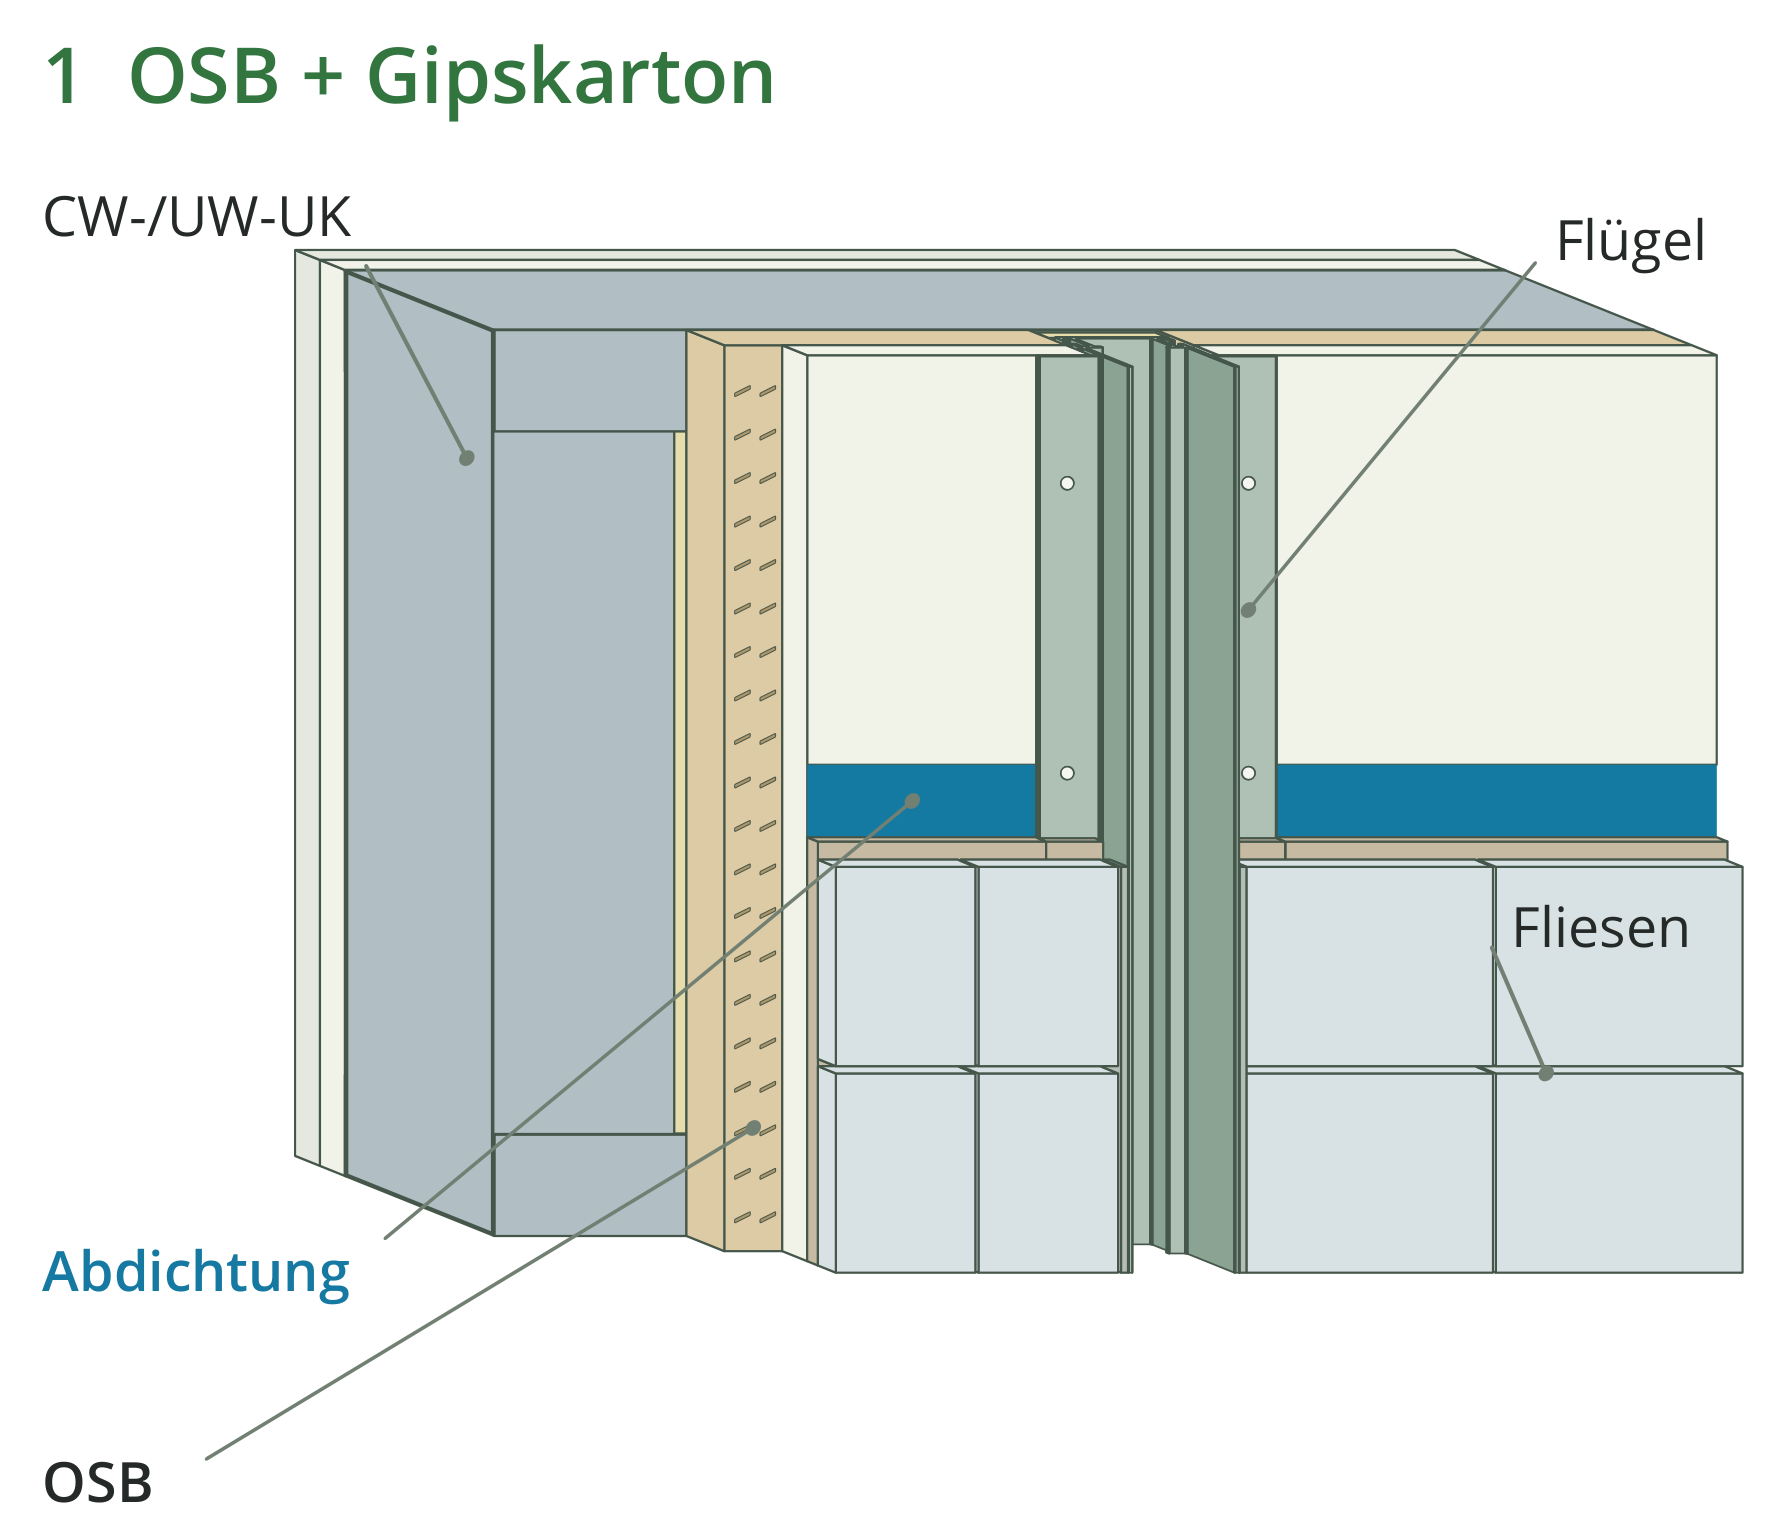 05
Tiled stud wall
Light between wall build-up and tile pattern. With a cleanly executed connection.
The solution. Experienced in the room.
Light lines in the finished room: the images show layout, integration and light effect. Open an image to enlarge the full shot.