

Timber facade / ventilated rainscreen
Light underlines the structure of the timber facade or sets its own accent. LightLineLed combines the natural material effect with precise line work.
What this solution makes possible.
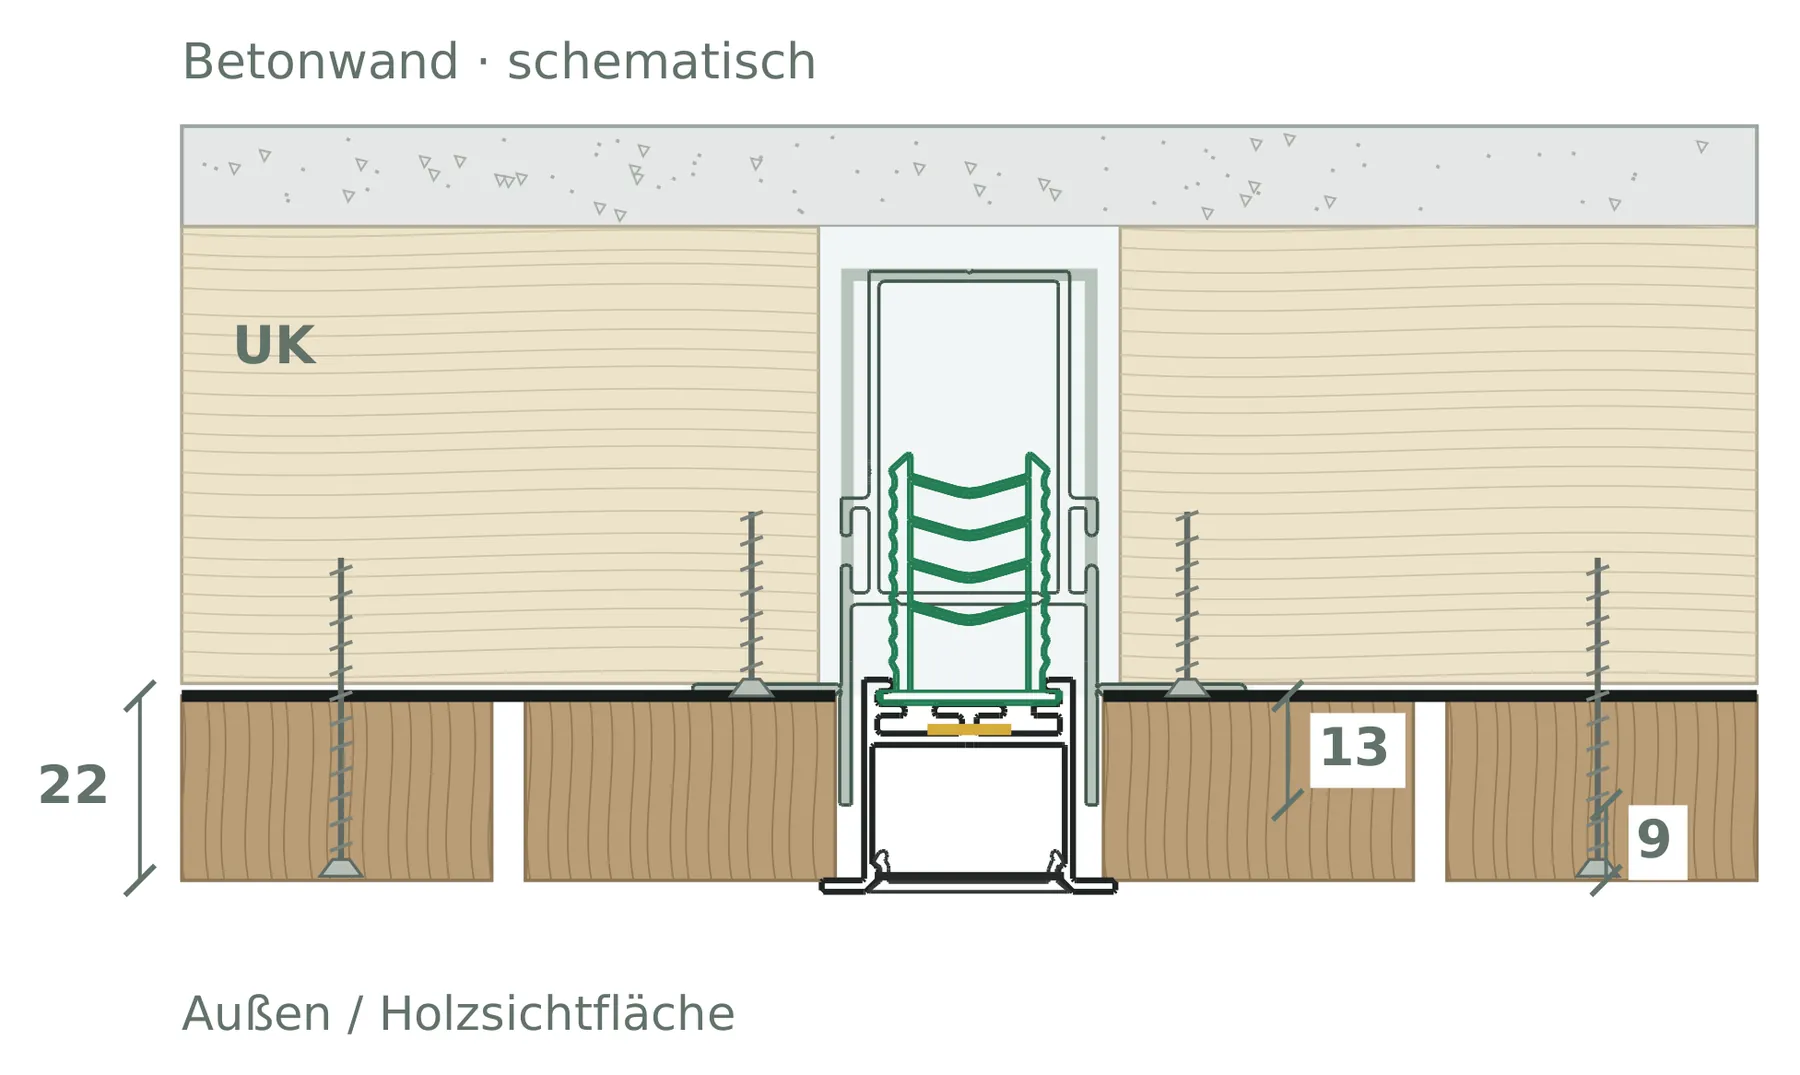
Light can follow the vertical timber structure or accent it as an independent line. For a ventilated façade with 22 mm rough-sawn boarding, the installation manual shows three connection variants – with different profile positions and clearly separated load transfer.
Three comprehensible routes to the finished visible timber surface.
The lighting technology remains separately replaceable.
Black shadow gaps and timber cladding can be coordinated in design terms with the light line.
This is how your line of light is made.
Application, construction and benefits – tailored to your architecture.
Continue the timber structure with light
LightLineLed can pick up the structure of a timber facade or form a deliberately placed line within the cladding. In daylight, the wood remains the defining material; in darkness, the light traces selected paths and building areas. The housing is integrated into the facade build-up and matched to the finished timber surface. This creates lighting that works together with the rhythm of the boards, the joints and the edges of the building.
Three connection routes for different assemblies
Three documented connection principles are available for the ventilated timber facade shown. The flanged-profile variants differ in the position of the profile and the connection of the boards. A further variant uses the concrete recessed profile on its own timber batten, so that profile and cladding are fixed separately. This allows the detail to be chosen to suit the substructure, board build-up and desired finish. The section drawings show how these decisions affect the visible position of the line of light.
Coordinate façade work and light installation
The structural receptacle defines the course, while the actual light unit is prepared separately and inserted later. This supports a clear work sequence between facade construction and electrical installation. Suitable mounting and technical sections are planned together with the cable routes and later access. The visible combination of profile and cover can be matched to the timber surface and joint pattern. The light line thus becomes part of the facade design and at the same time remains accessible as a separate technical component.
Plan design and outdoor use together
Ventilation, water drainage and the movement of the timber remain part of the façade detail. The matching lighting technology is chosen based on the actual weathering and installation position. The protection rating of individual components does not replace an assessment of the entire façade. The system's advantage arises from the coordinated combination: a defined connection to the timber surface, a prepared light housing and a planned service route. This allows the desired night-time effect to be combined with the structural requirements of the timber façade.
The solution in section
The system as construction progresses.
From the prepared housing to the finished light line.
The path to the finished light line
Sample the build-up
Coordinate the finished surface, timber movement, routed boards and loads with the façade construction.
Fix profiles and supports
Make the chosen variant load-bearing. In variant 3, profile and timber cladding remain fixed independently; do not screw through the boards into the profile.
Preserve air and water paths
Place black facade membrane between substructure and visible cladding. Keep rear ventilation, supply and exhaust air and water drainage open.
Fitting the lighting technology
Check outdoor suitability and heat dissipation. Insert the prepared light unit with matching clips and secure it according to the variant.
Installation & documents.
The installation and processing instructions accompany the actual implementation of your line of light.
Timber facade / ventilated cladding · Installation & processing
PDF · matching instructions
Safety and installation notes
PDF · observe together with the instructions
The complete installation manual
All applications and system details
Processing notes in detailMounting clips, safety cable and further notes on the specific design
Build-up details
Variant 1: 13 mm flange at substructure level; 22 mm cladding projects 9 mm. Set the visible profile with cover flanges and V3 clips onto the visible timber surface. A 64 mm flange profile is shown; check the required installation space on a sample.
Variant 2: profile flush with the visible timber surface; set the substructure back behind the flange plane. Rebate the rear of the connection boards by 9 mm so that 13 mm residual thickness remains at the flange. Screw to the profile flange there.
Variant 3: concrete installation profile on its own timber batten. Rear faces of substructure and batten flush; align the support to the 37 mm profile height, offset to the rear of the board 15 mm. Fix boards to the substructure only.
Processing and installation
Mounting clips V2 (20 mm) and V3 (30 mm) may be shortened. Afterwards, both side legs must again taper inwards at an angle and form tips like the original tips. Blunt or straight-cut leg ends cause the clips to break when snapping in. Bevel both legs accordingly, deburr the cut points and check the tip shape before installation. Then check for full snap-in seating and secure hold. Do not use damaged clips. No blanket shortening dimension or cutting angle.
Variants 1/2 use the securing set for wing profiles; variant 3 the concrete-embedding set. Connectors sit in the suitable visible profile.
The retaining clip of the fall protection locks exclusively into the mounting profile, never into the flush-mount driver profile. If the light line begins with 0.5 or 1 m of driver profile, the upper securing fixing lies only in the adjoining mounting profile. A continuous flush-mount driver profile does not allow this type of securing; every lighting element must still be secured.
Four mounting clips per metre, rounded up and at least two per section. V1: 10 mm, V2: 20 mm, V3: 30 mm – choose to match the actual fit-out height. Secure visible profiles at the start, at every joint and at the end; the connector pair sits in both rear longitudinal slots of the suitable visible profile.
In the flush-mount driver profile, maximum driver installation height is 18 mm; remove the pull-out tab only after complete installation. MPW recommends routing the conduit in at the start of the driver profile, not through the end caps. Keep the electronics, terminal point and inspection access accessible.
Outdoor suitability is assessed for the entire detail: weather, condensation, cable entries, terminals, heat dissipation and inspection belong together. IP67/IP68 of individual components is not proof of a driving-rain-tight façade.
Before cutting, measure the temperature of the profile and cover. Allow room for movement at joints and end caps for heating and cooling, and clip in the cover free of stress.
Discover the matching products.
Profiles, covers and accessories together make up your light line. The product pages show versions and matching combinations.
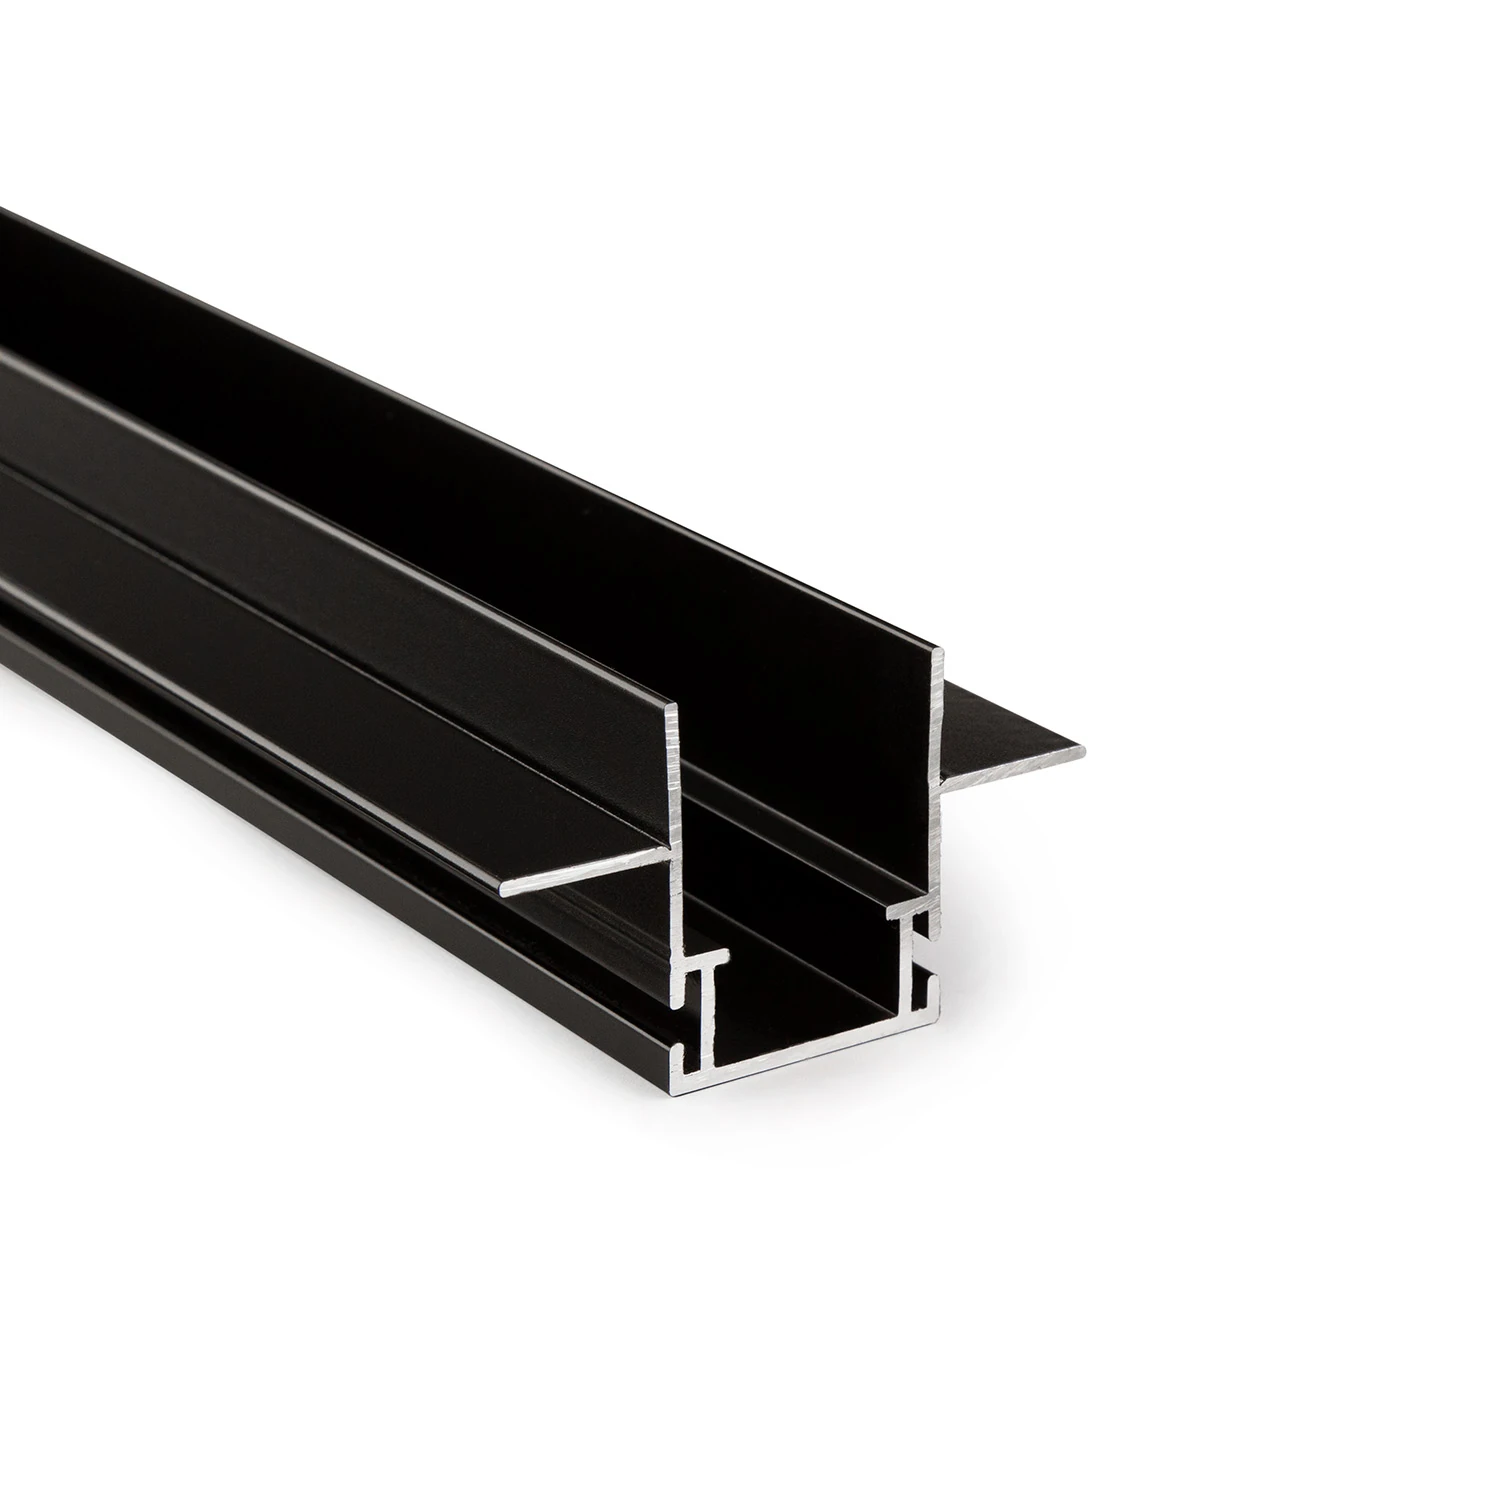
Mounting profile with 13 mm wing
Prepare the line of light together with the board cladding
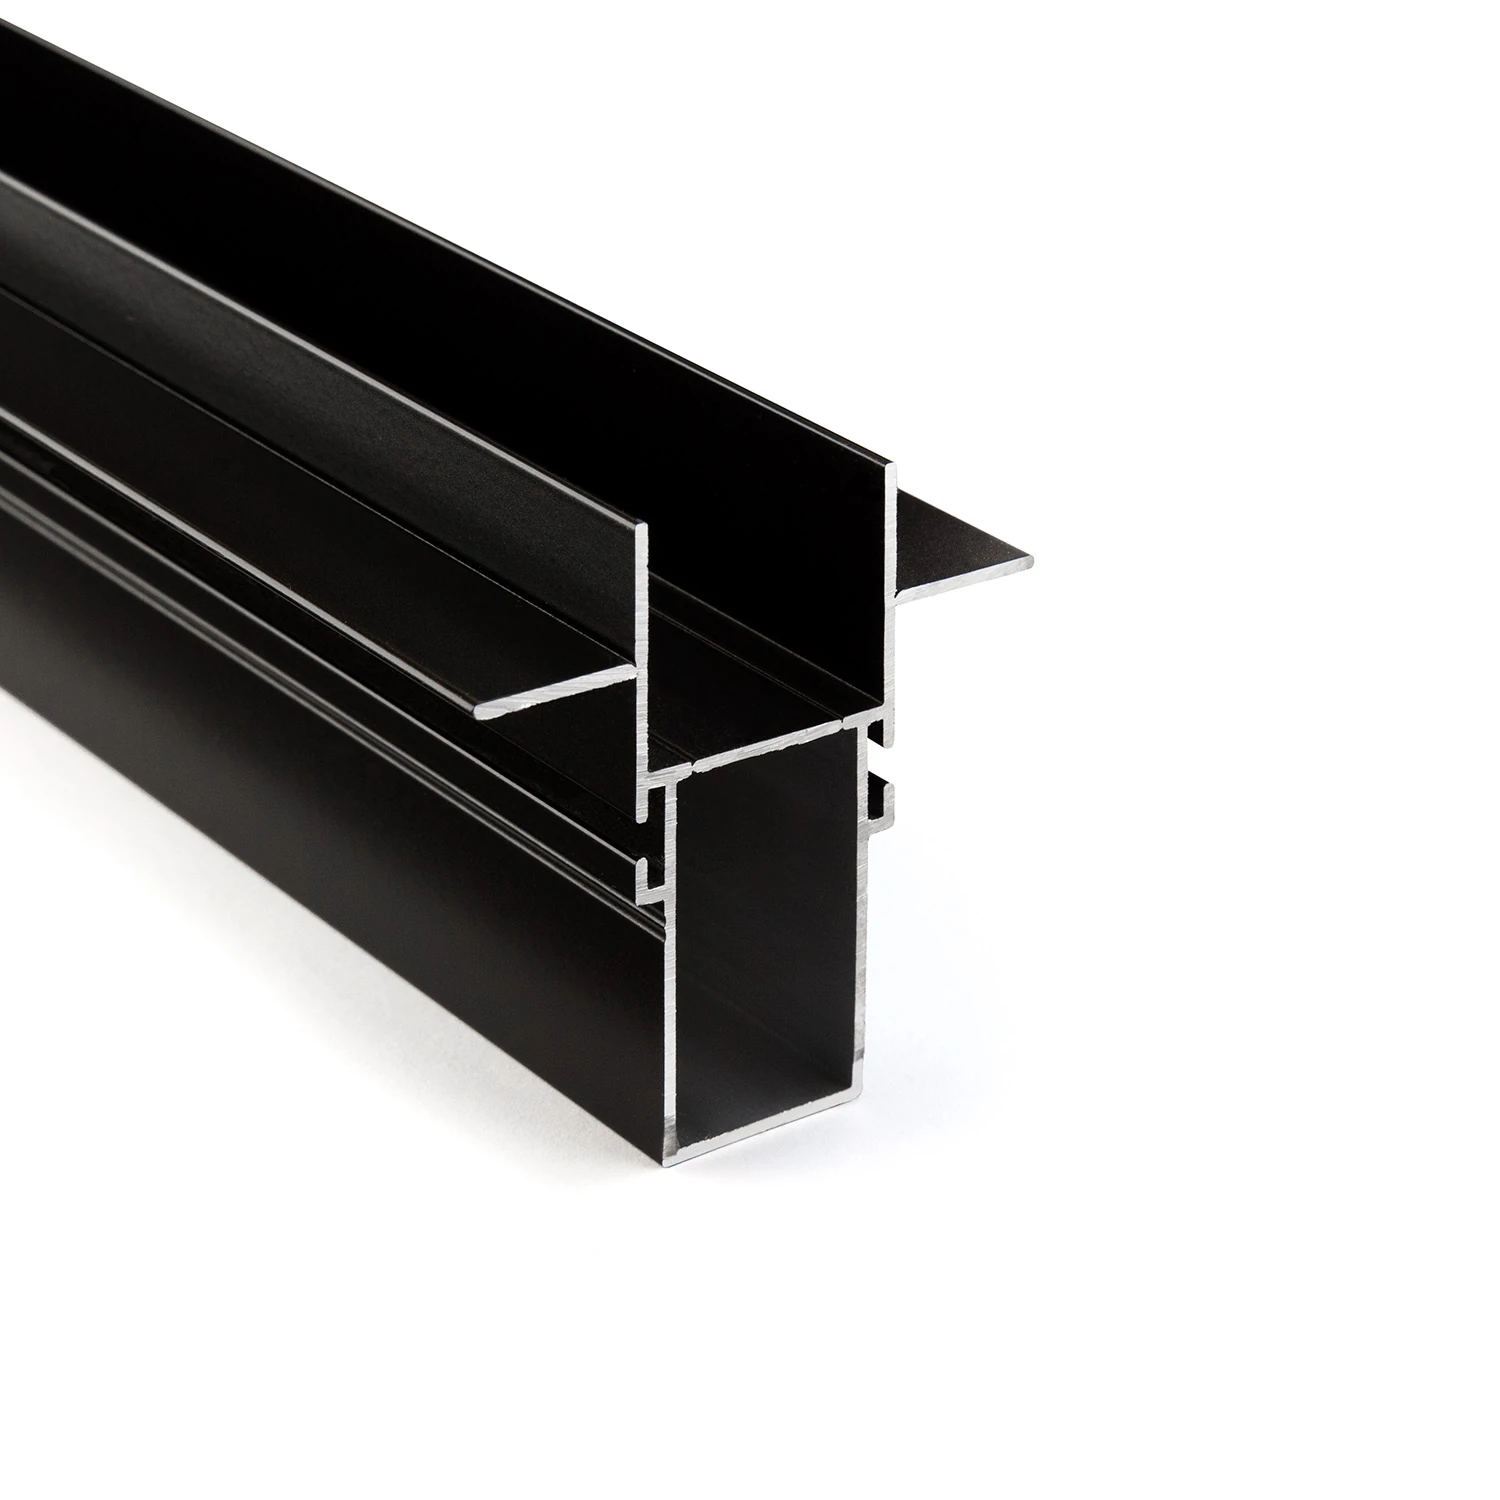
Driver profile with 13 mm flange
Power supplies and terminal points accessible via the light line
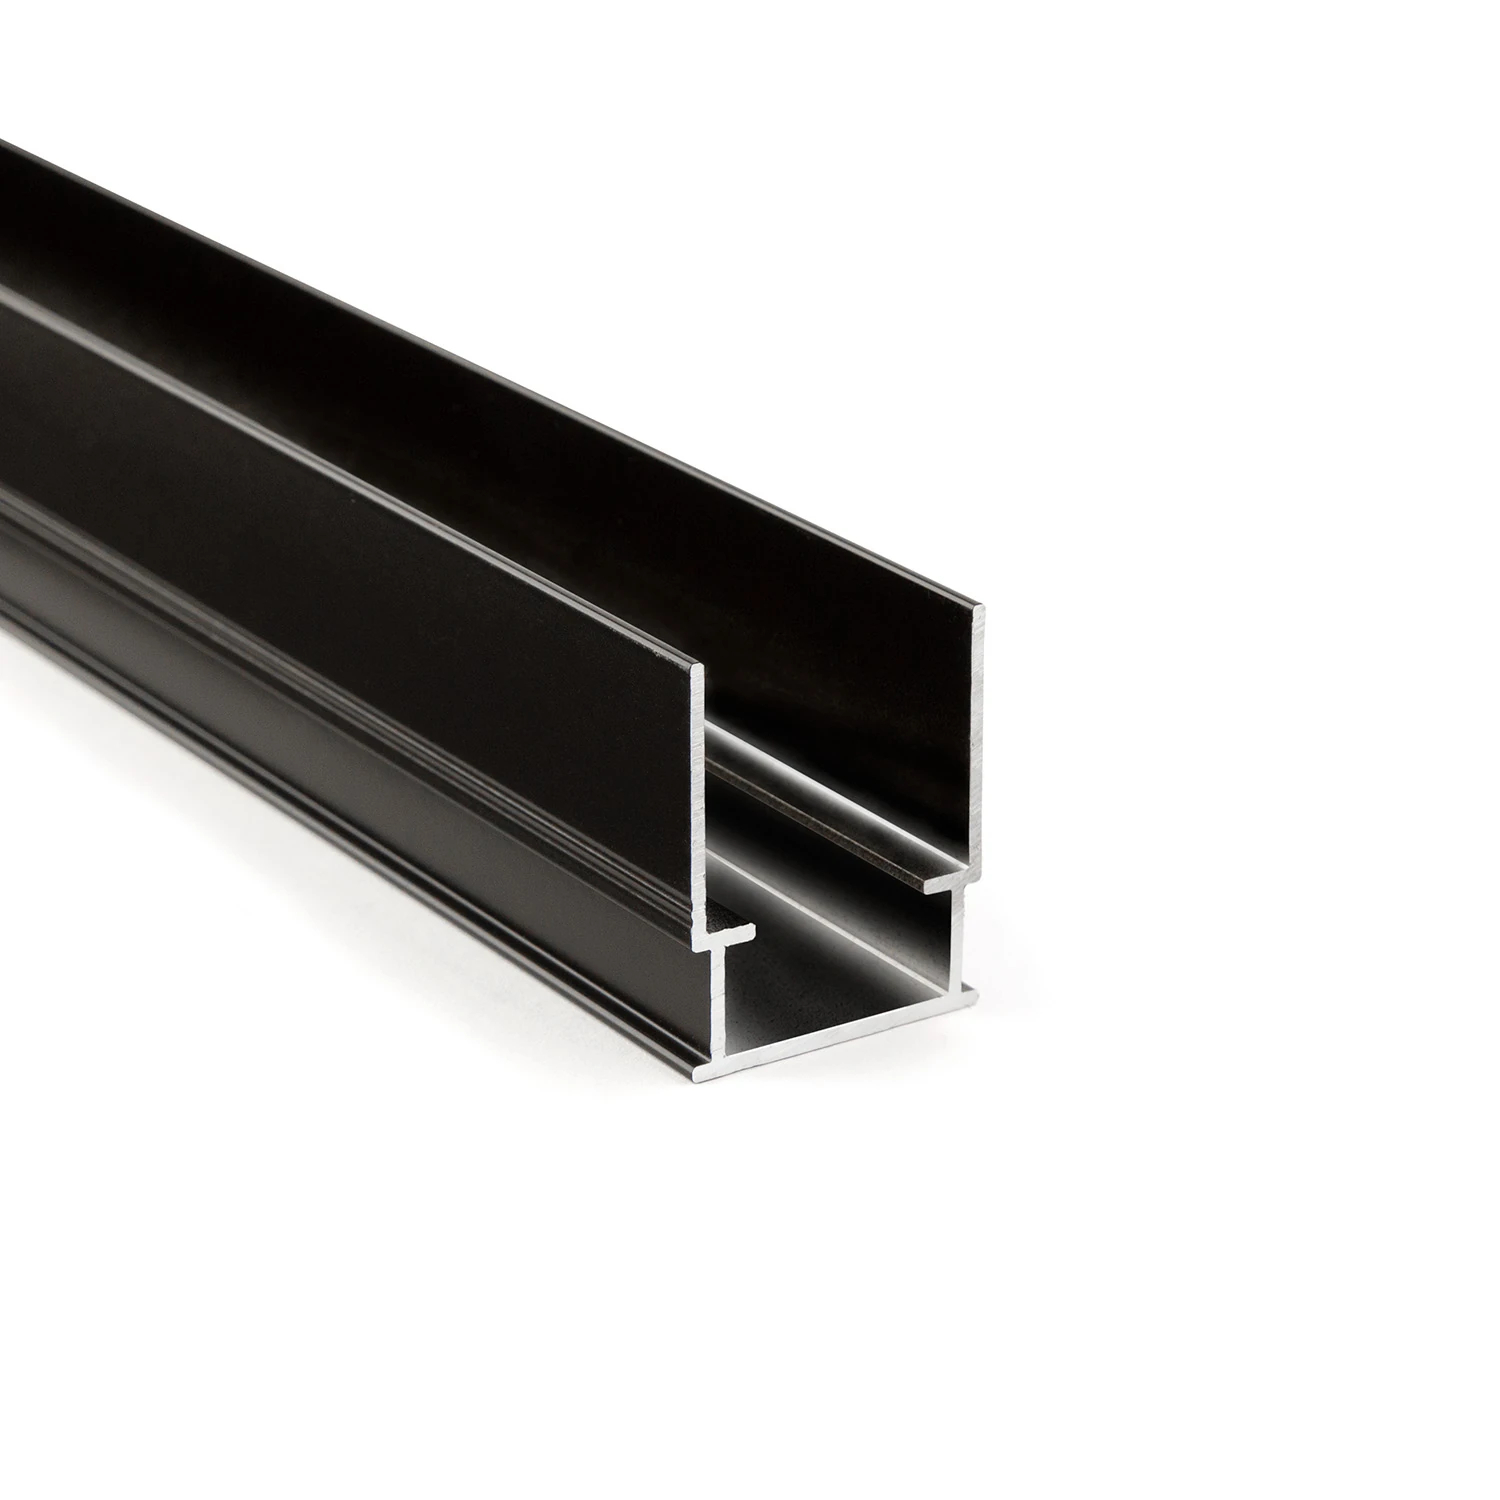
Concrete-embedded mounting profile
Prepare the light housing already in the in-situ concrete formwork
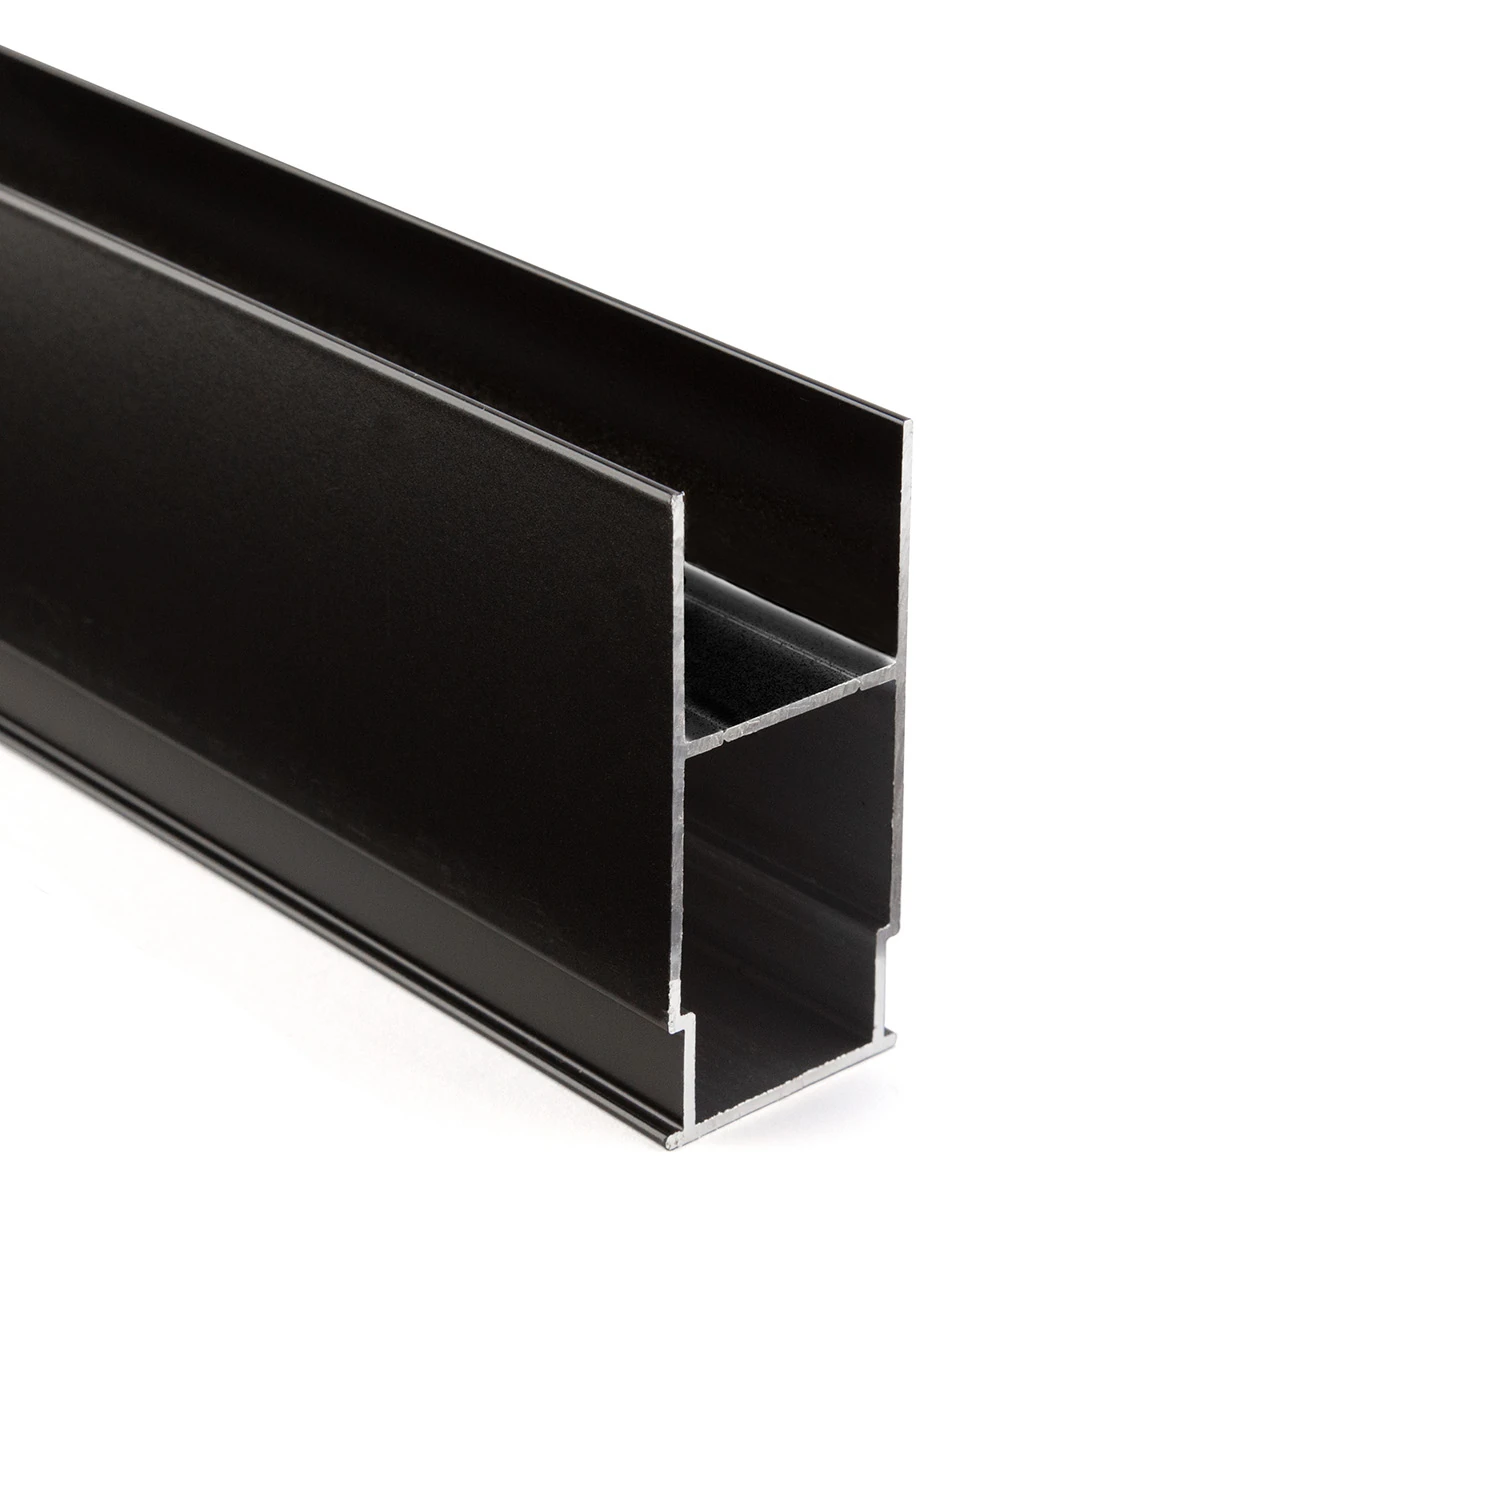
Concrete-embedded transformer profile
Supply technology accessible behind the luminaire insert
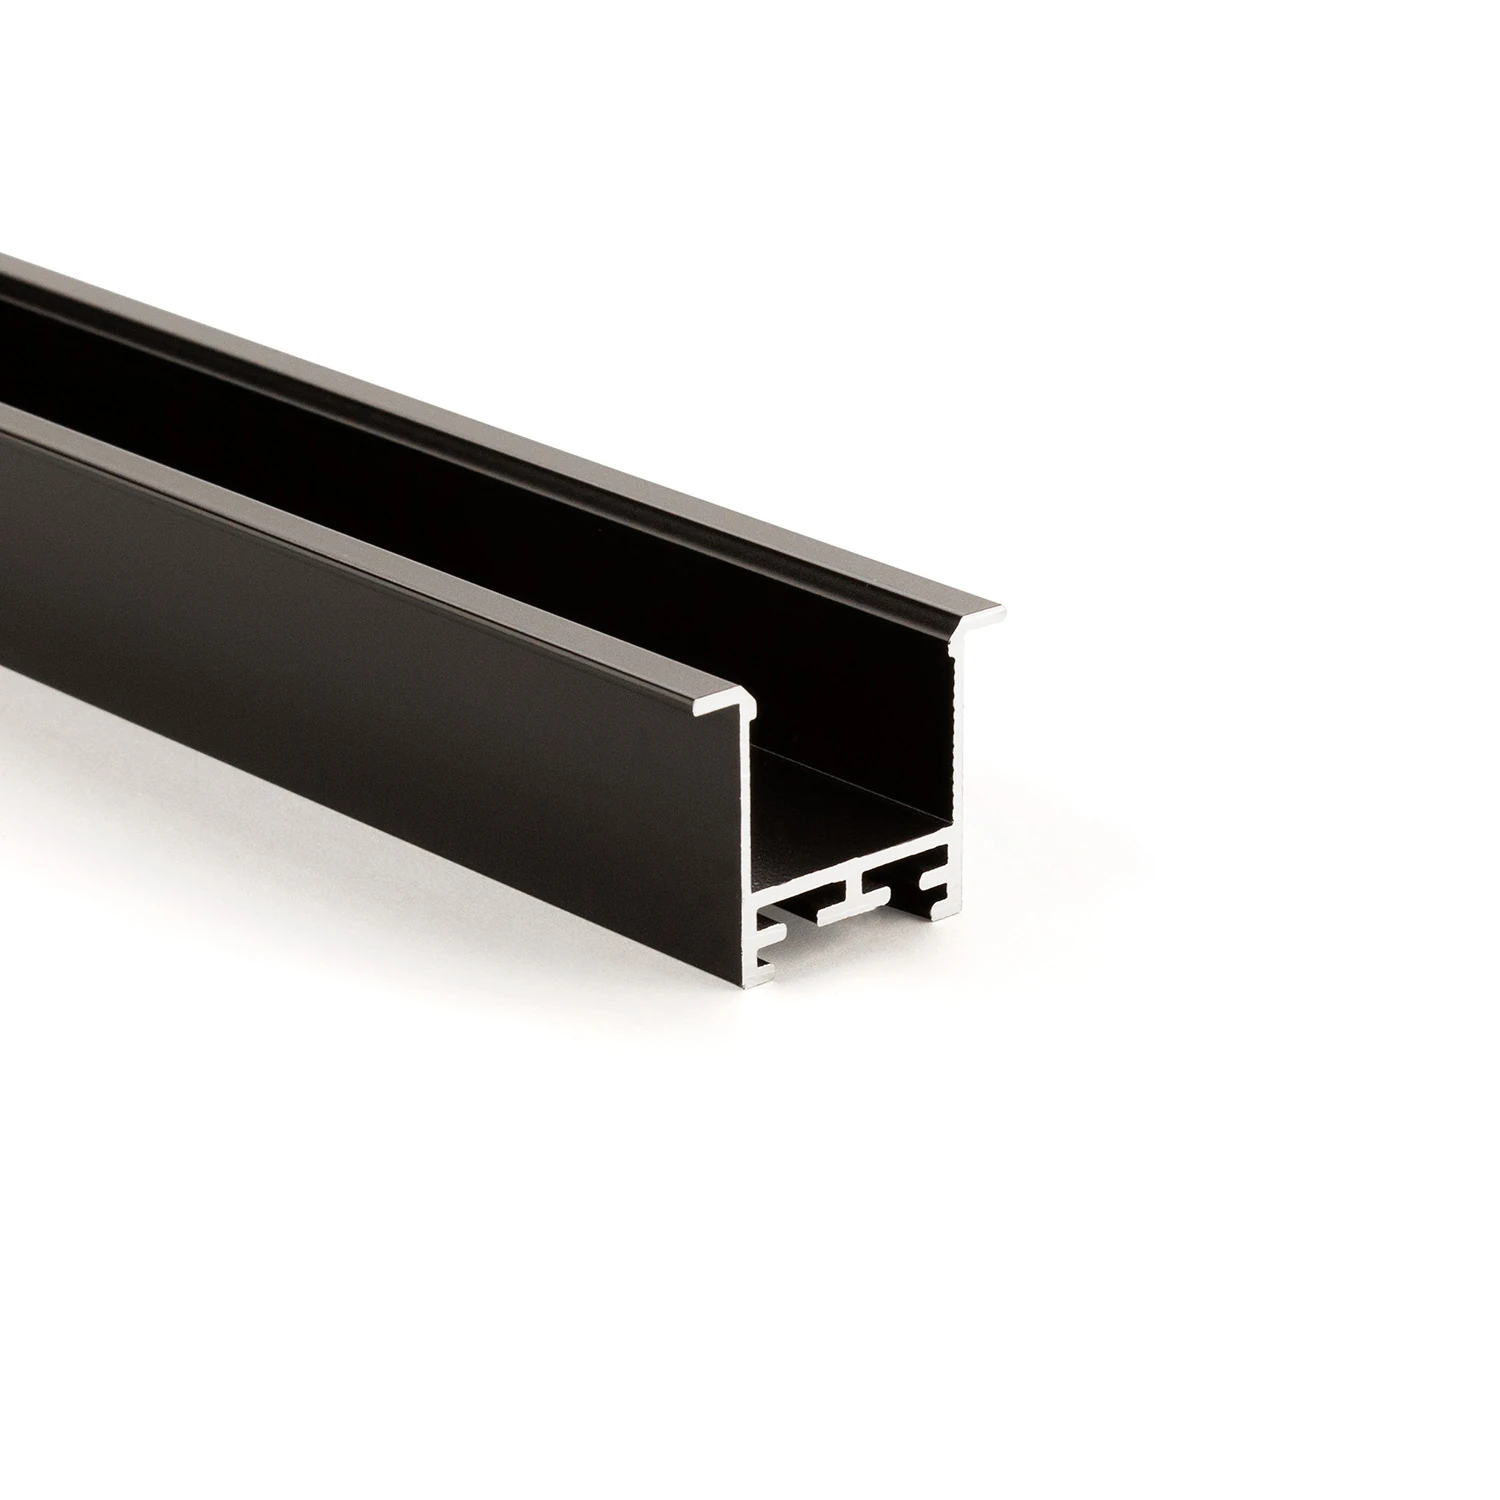
Recessed and visible profile LL35F
Visible aluminium edge covers the connection joint
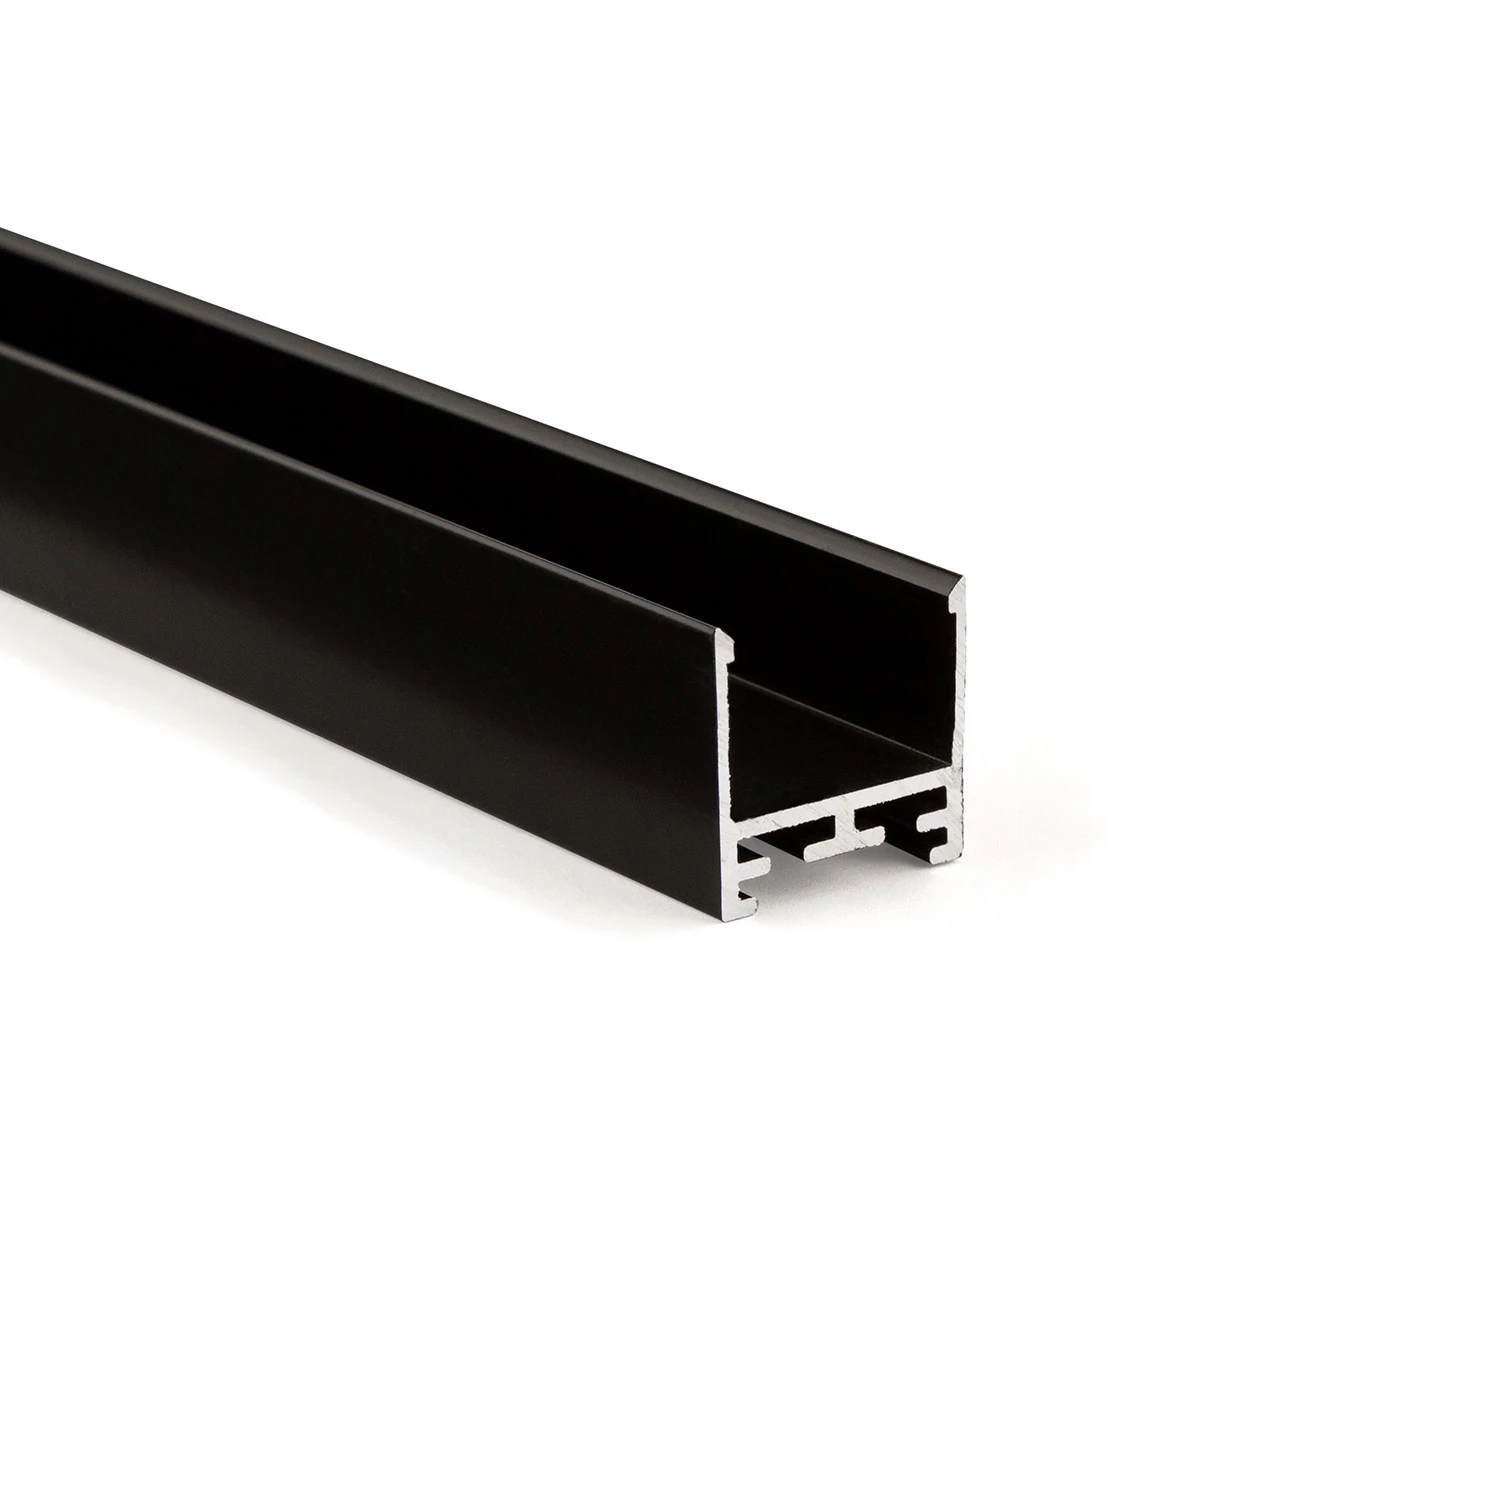
LL25 profile – the all-round visible profile
Consistent design language for recessed, surface-mounted and pendant installations
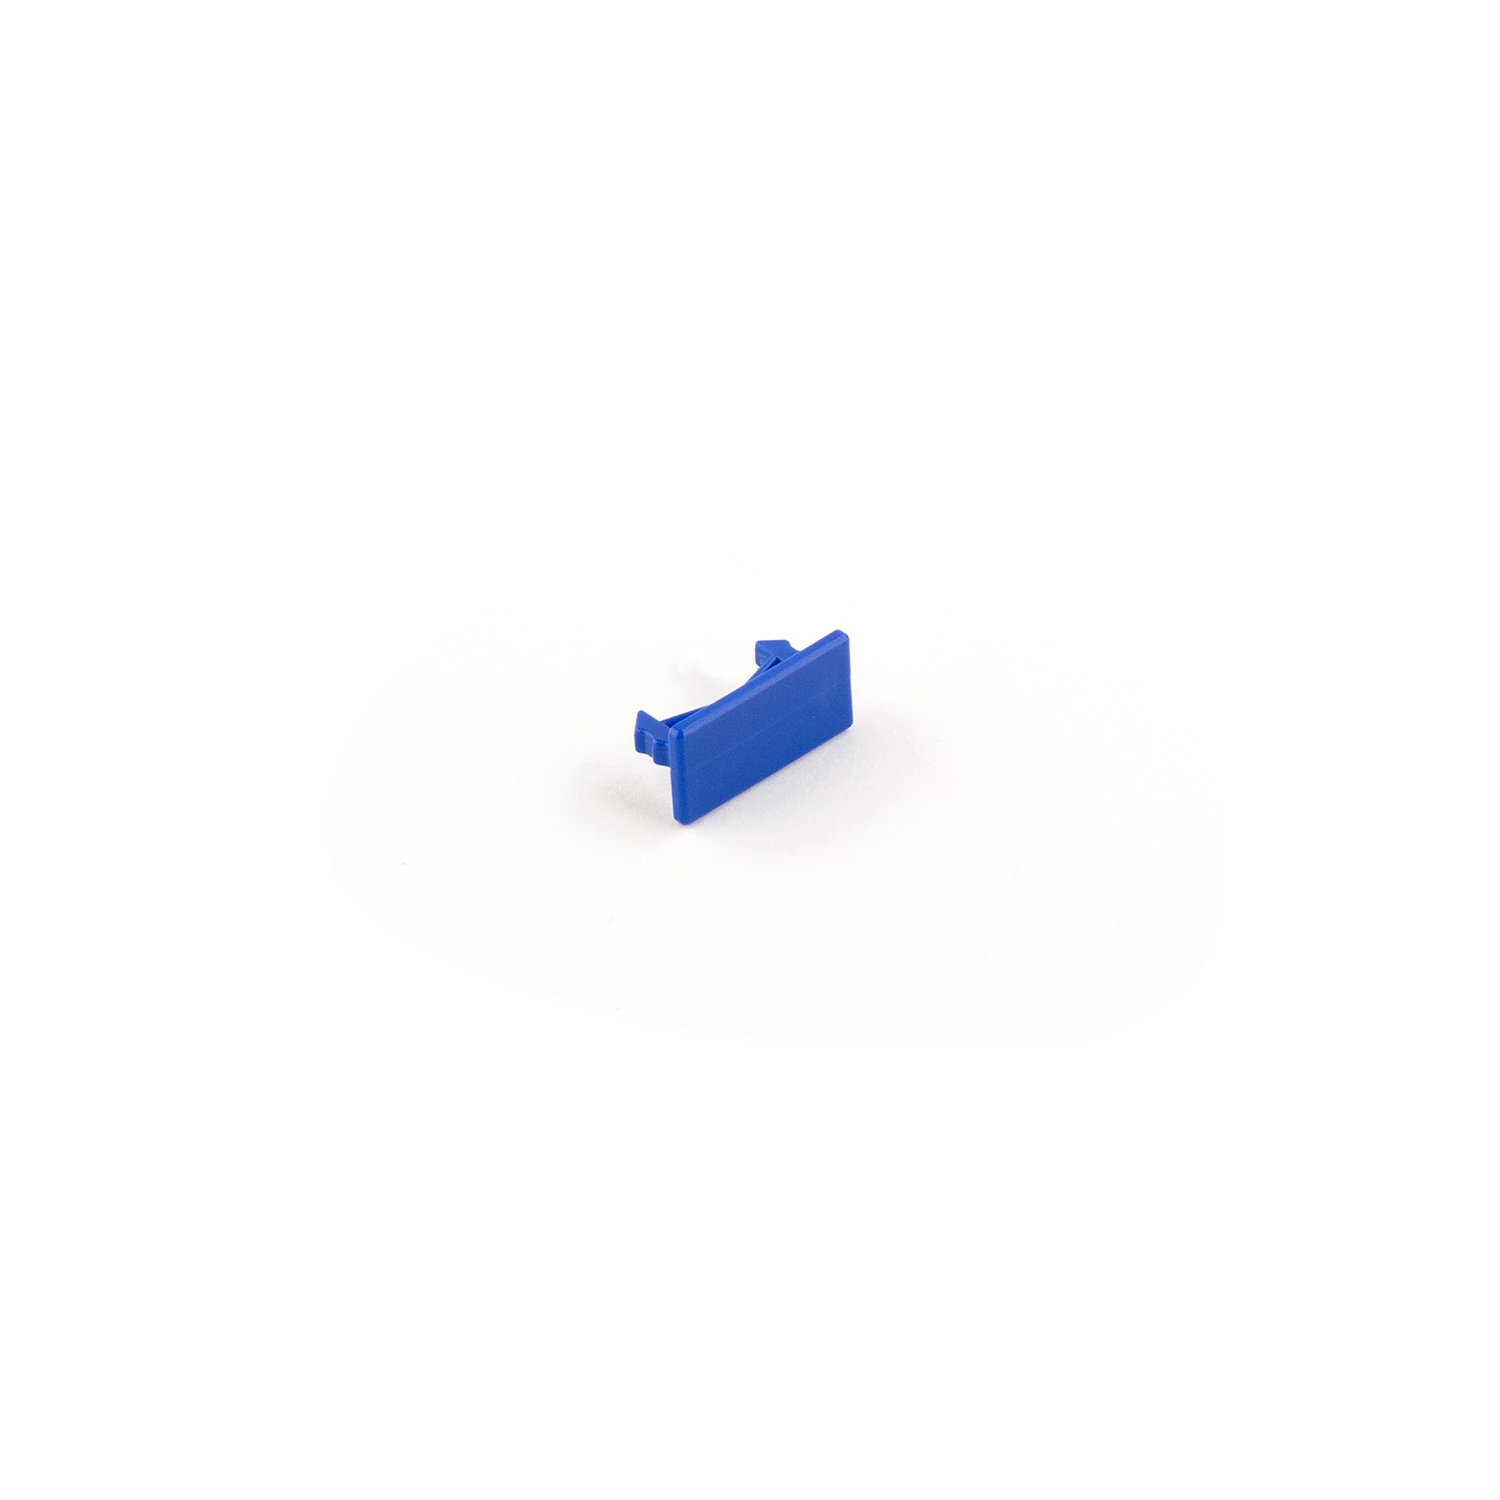
Mounting clips V1, V2 and V3
Height adjustment within the intended combination
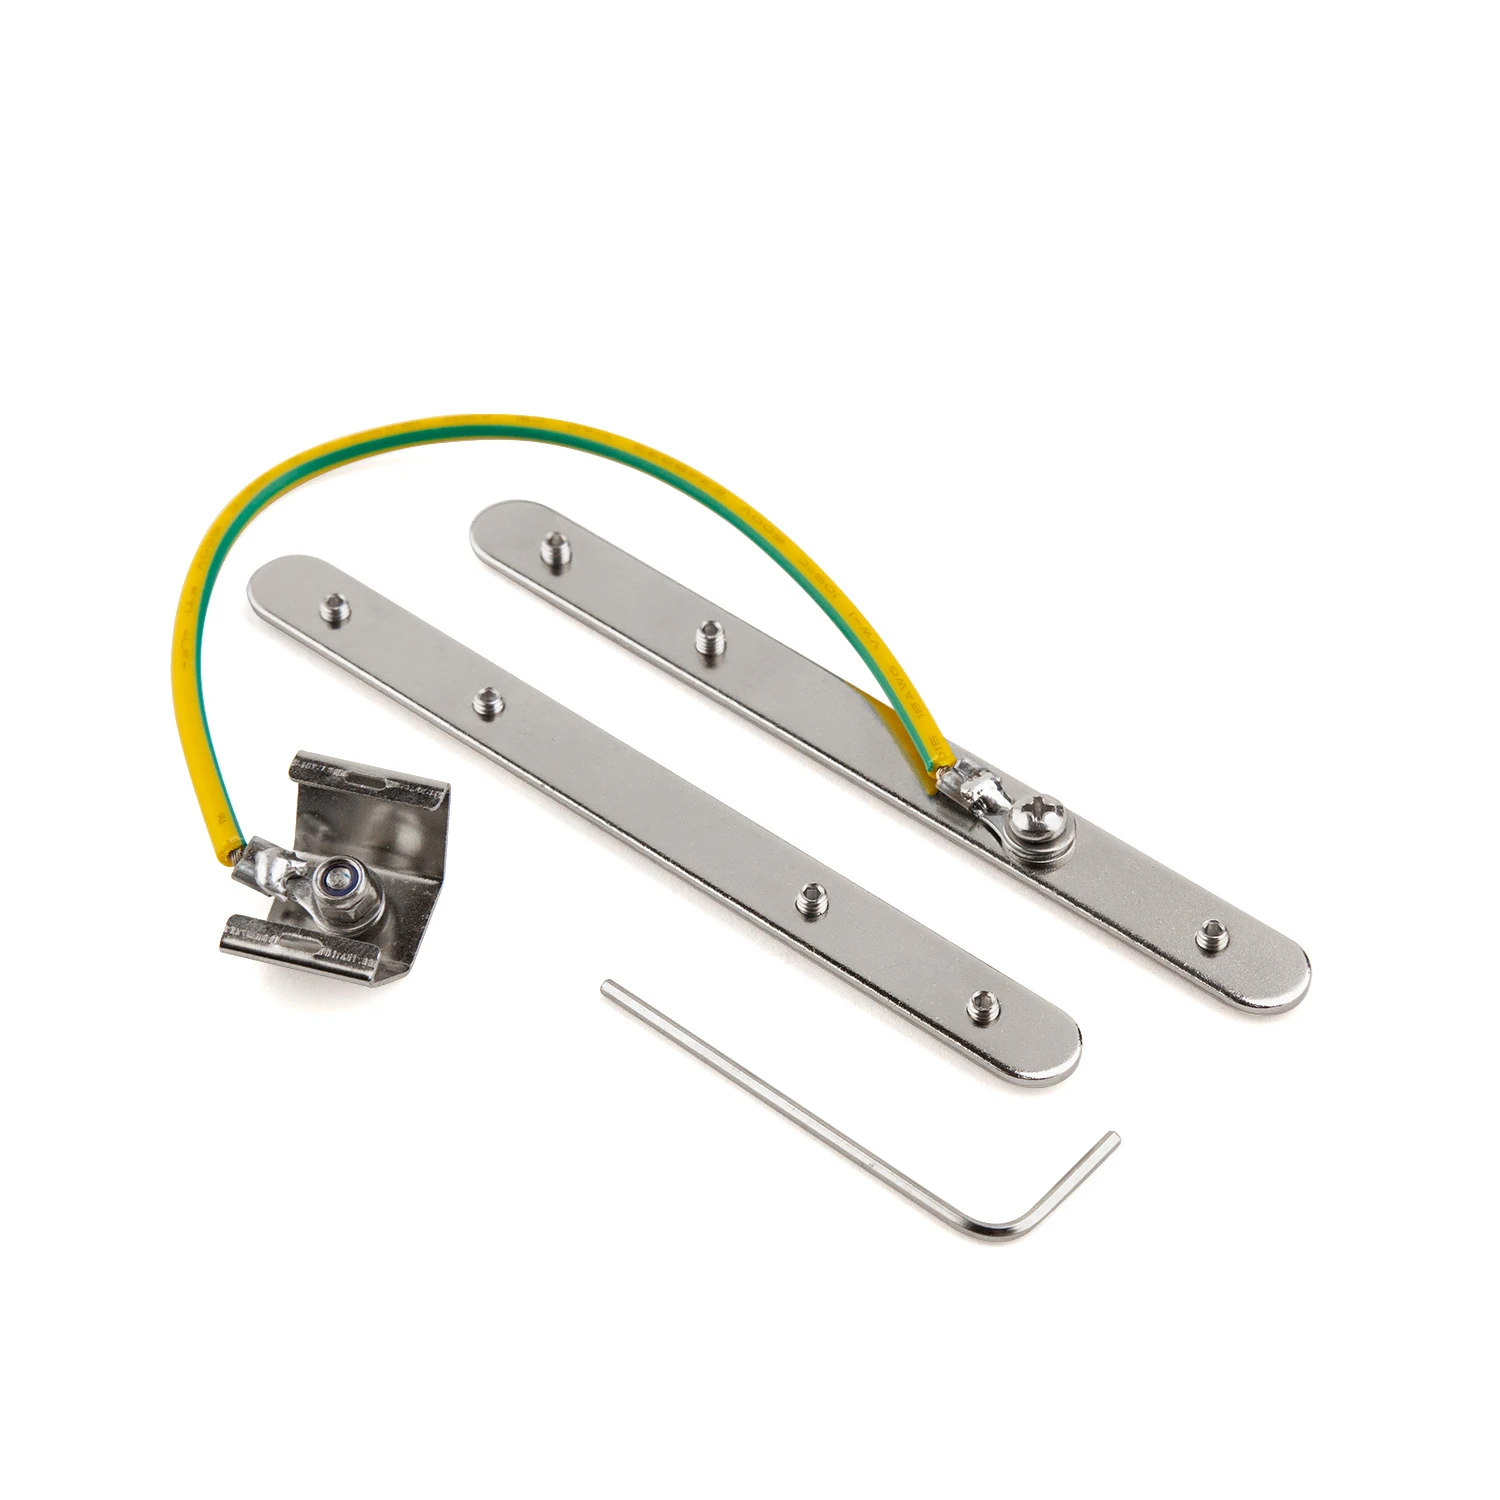
Fall protection for concrete installation
Connecting and securing at the profile joint
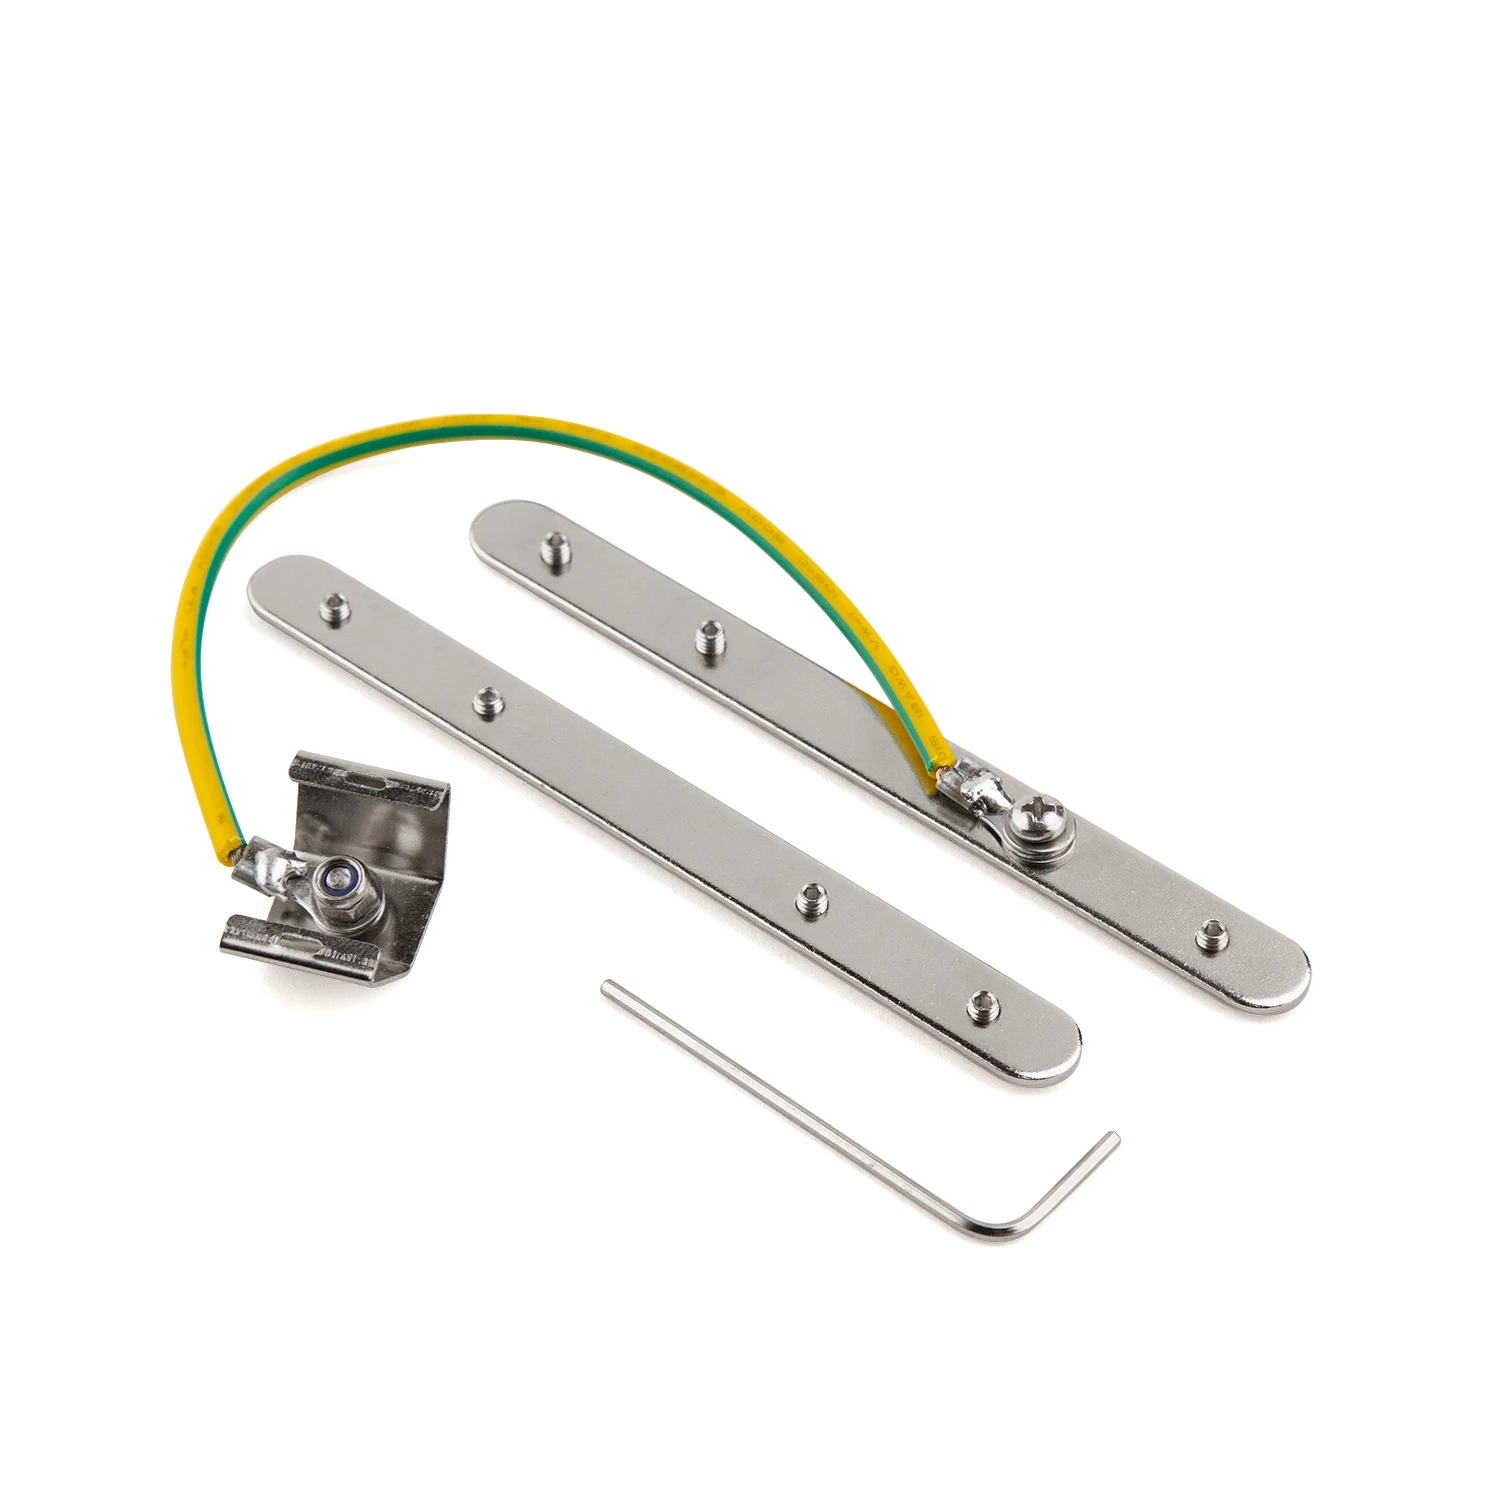
Fall protection for profiles with flange
Connecting and securing at the profile joint
Light line found.
We'll clarify the details together.
Building material, surface and desired lighting effect set the direction. MPW supports you with the right system version and the next steps.
More possibilities for your architecture.
 10
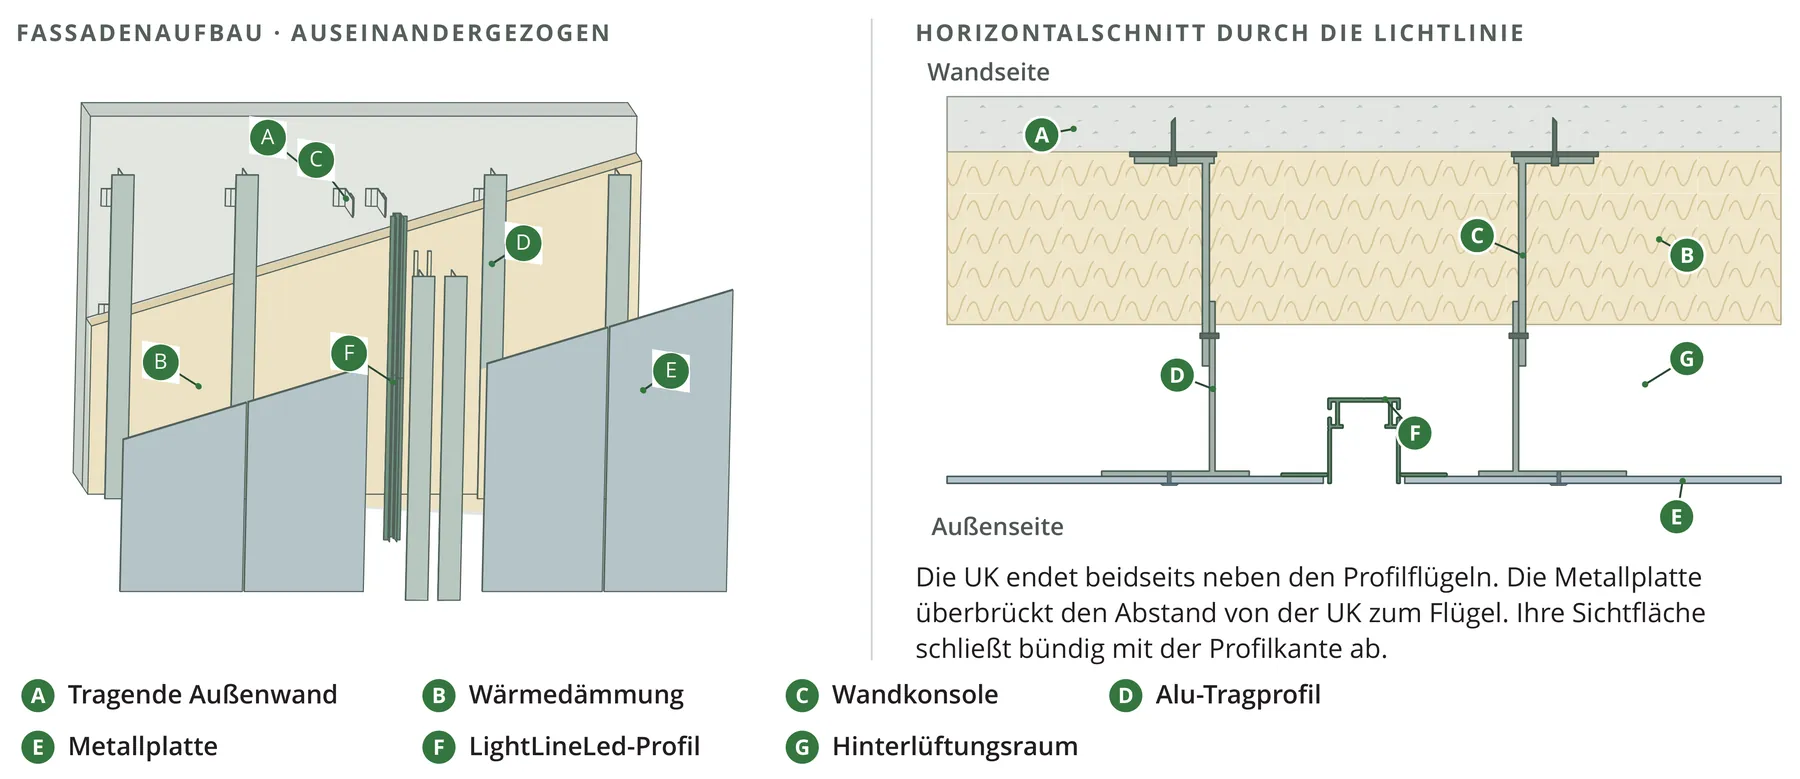
Metal facade / ventilated cladding
Profile connection, fixing and material movement in the metal facade build-up.
 11
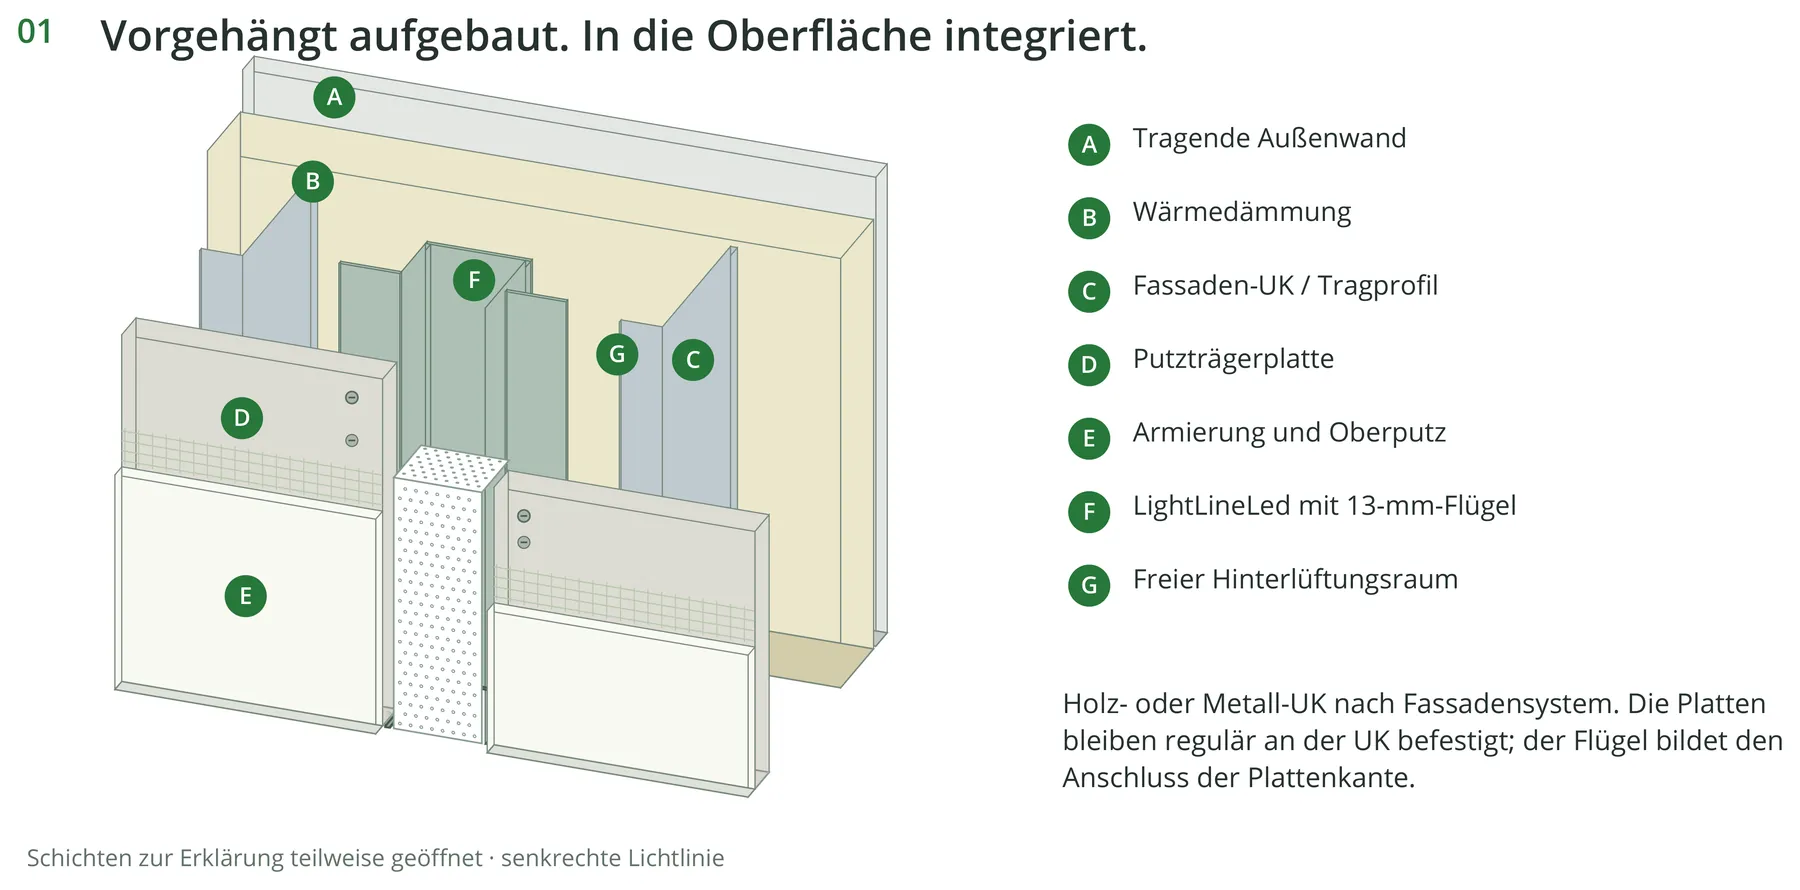
Plaster-base facade, stone & ceramic
Plaster base boards, stone or ceramic – with a matched visible joint.
 12
Thermal insulation / ETICS
3 mm flange, connection mesh and plaster: light lines in the insulation layer.
Light lines in architecture.
Discover implemented LightLineLed solutions in different rooms and building materials.